Afosto CMS - Message template editor
In the messaging template editor you can create custom emails and PDFs using HTML, Twig and CSS. It works basically the same as the web shop editor, but with a different look and some extra useful features.
Would you like to know more about Twig? Take a look at the Twig documentation.
When you open the editor you will see something like the image below.
The template editor for messaging a web shop](https://qcqcdn.com/afosto/berichtgeving_editor_start_7f576b95df/berichtgeving_editor_start_7f576b95df.png?w=700)
Example
On the right side is the example panel. This can be opened and closed by using the button if you want more space to see the code.

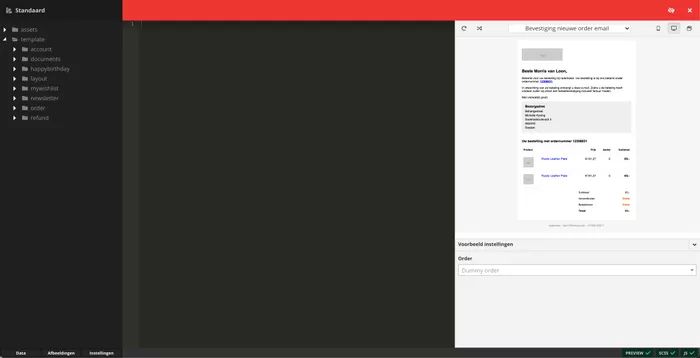
Template selection
At the top of the example is a bar with a field in it. This field allows you to choose which template you want to view the example from. For example, you can then view the email of the invoice.
Reload and random data
On the left side there are two buttons with which you can reload the example and have the data filled with random data. This way you can test with all kinds of different data to see if your email always works properly. Please note that for example the product data will not match your products. The specifications will for example not be filled with existing specifications with random values.
Example format
On the right side of the bar you can choose in which format you want to view the template. You can choose between mobile, desktop or open in a new window. With the last option you can scale the window yourself and use the desired format.
Example settings
At the bottom of the example panel you will find the example settings. With these settings, you can choose which data to use in the example. What settings you can specify varies from template to template, but for an order confirmation, for example, you can choose an order.
Files tree
On the left side of the editor is the tree of files that you can expand and edit. By right-clicking on one of the files or folders, you can also create new folders or files.
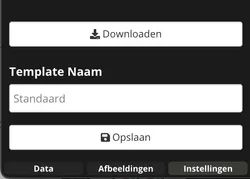
At the bottom of this tree are three buttons: Data, Images and Settings. Clicking on any of these buttons will open a panel with additional information and options.


Data
Under the data button you will find all data made available by the backend for the active template. This is linked to the selected template in the example panel. You will see random data or the data of your selected settings. So if you are looking for certain information about the order you can always find it in the data panel.
You can also double click on the name of a variable to place it in the open file.
Images
In the images panel you can upload images that you can then use again in the template. Again, you can use double-click to add the image to your code.
settings
In the settings panel you can change the name of the template. You can also download a backup of the template here to work in your own code editor, for example.

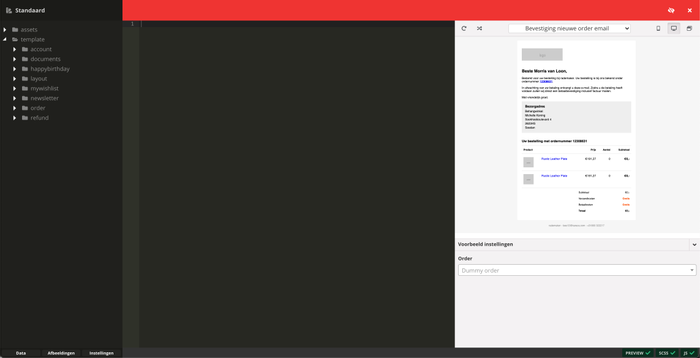
Status bar
At the bottom of the editor is a bar with three blocks. These indicate whether the server has found problems in any of the three components. For example, you can see if the SCSS has successfully compiled to CSS, JavaScript has successfully compiled, and if there are any errors in the TWIG that prevent the example from being displayed. If an error has occurred in one of the components it is indicated by a red exclamation mark. You know where the error is. In many cases you will also see that you have made an error in the wrong line, marked with a cross next to the line number.