How to Connect Shopify to Afosto: A Step-by-Step Guide
Welcome! In this guide, we will walk you through the process of connecting your Shopify store to Afosto. Once connected, you can easily manage all your orders, stock, and product data across multiple sales channels. This guide is designed to make onboarding simple and clear, so let’s get started!
Overview of the Shopify Integration
The Afosto integration for Shopify is designed to simplify and streamline your e-commerce operations by connecting your Shopify store directly to the Afosto platform. This integration allows you to manage all your orders, stock, and customer interactions from a single central system. Here is a brief overview of what this integration can do:
- Automatically import orders: Every time a customer places an order in your Shopify store, it is immediately imported into Afosto’s Order Management System (OMS), where you can manage and process it along with orders from other channels.
- Synchronize cancellations and returns: All cancellations or return requests made in Shopify are automatically synchronized with Afosto, allowing you to track customer service needs.
- Real-time stock updates: The integration updates your stock in real time, ensuring that stock levels in your Shopify store and other connected channels are always accurate, reducing the risk of overselling.
- Order status updates: Keep your customers informed by pushing status updates such as 'On the way', 'Ready for pickup', or 'Delivered' directly from Afosto to Shopify.
- Multi-location inventory management: Manage stock across multiple locations and synchronize inventory levels between your physical stores, warehouses, and online channels.
In short, this integration helps you efficiently manage your entire order process, from receiving an order to final delivery, while keeping your stock synchronized and up-to-date.
Step 1: Sign up for Afosto
- Register for a free Afosto account: Sign up for a free Afosto account

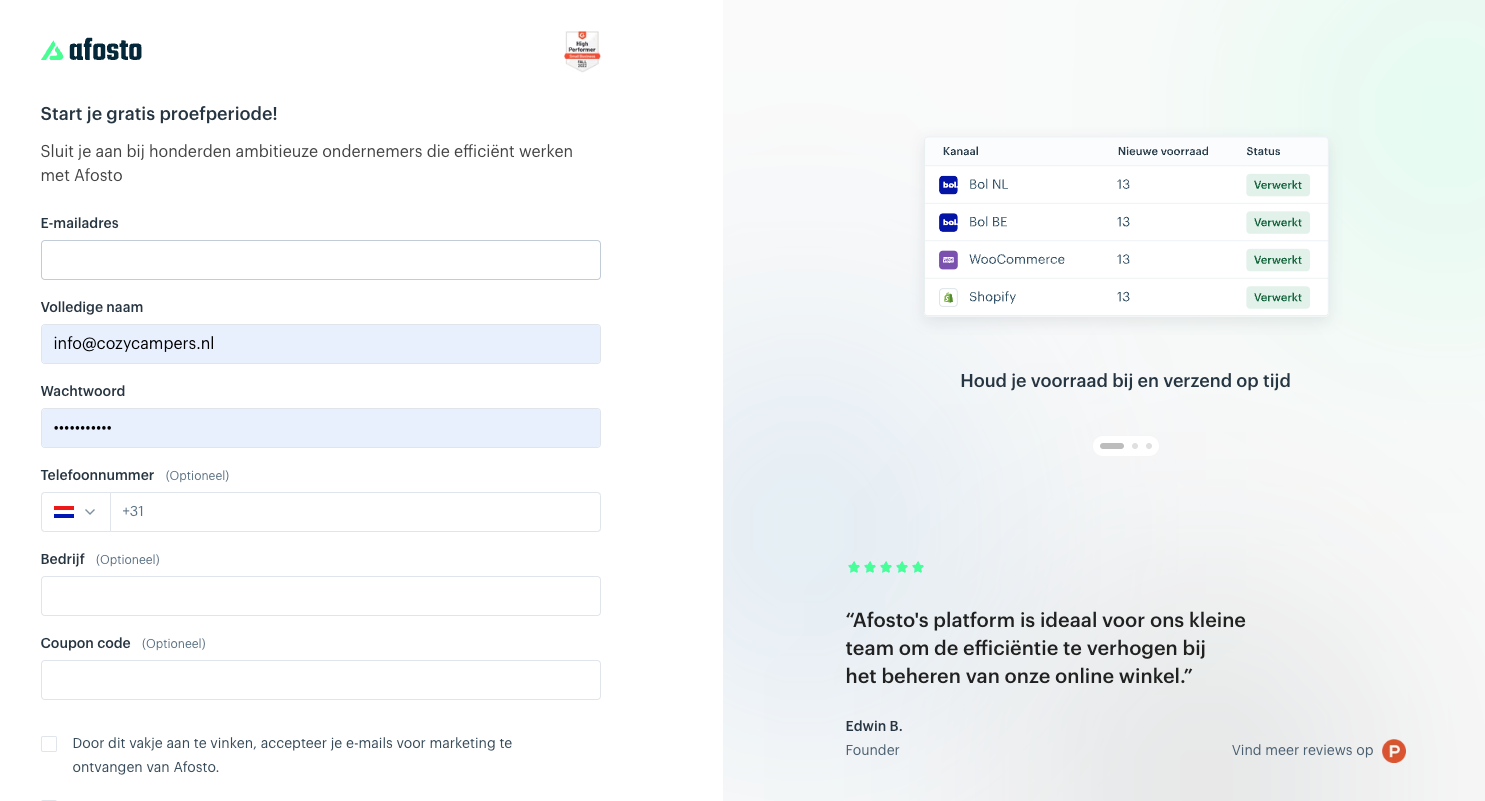
- Navigate to your Afosto dashboard: Afosto-dashboard

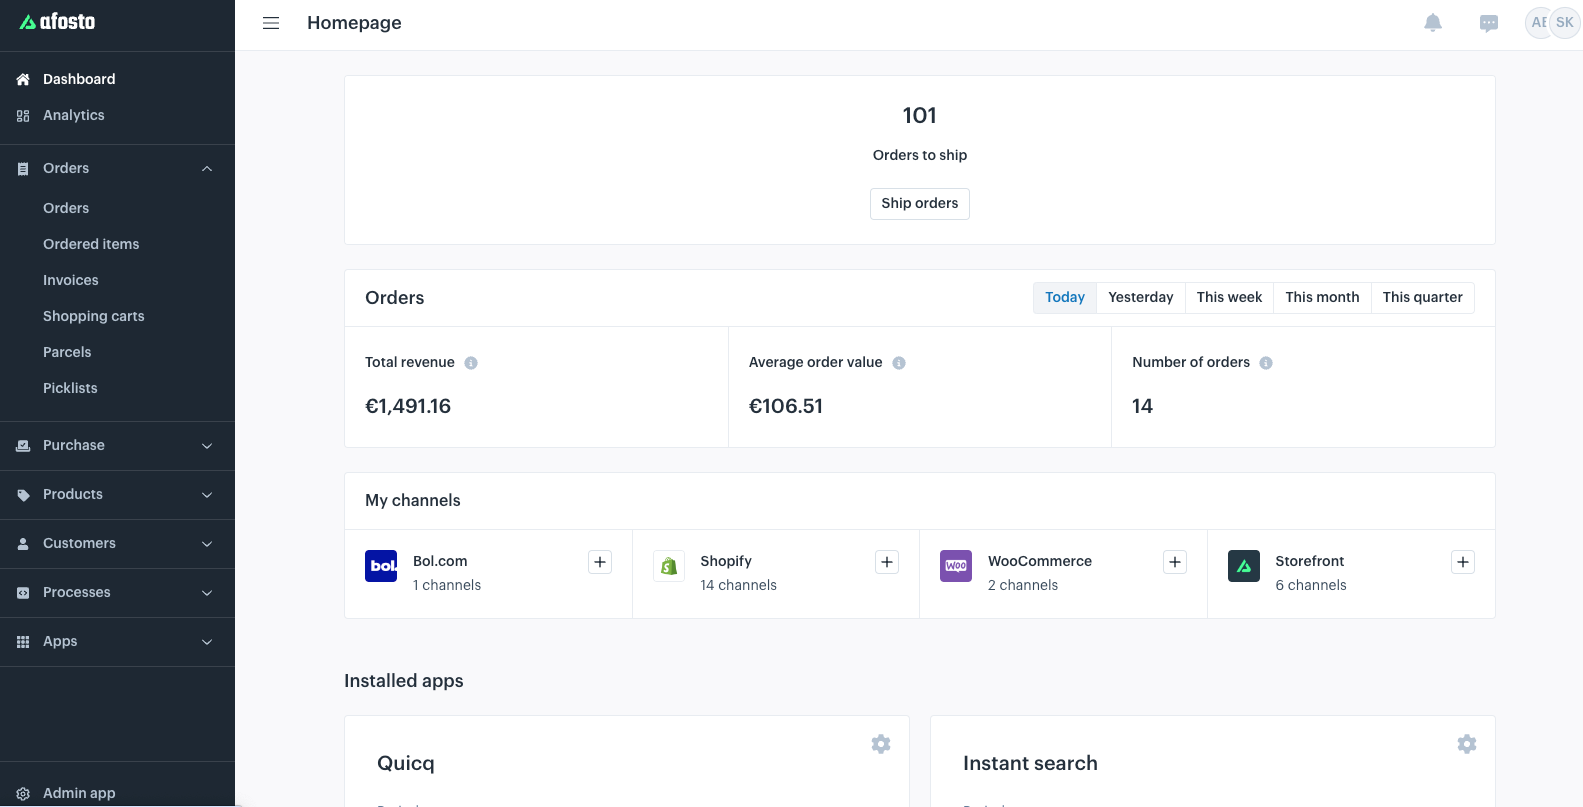
Step 2: Create Shopify Sales Channel in Afosto
Add channel
Click the + button next to the Shopify logo.
Fill in the channel settings


- Channel name:
Provide a unique name for the channel so it can be easily found later.
Example: Shopify + [store name] - Preferred language:
Select the desired language for this channel. - Selling entity:
Select the company you want to use as the selling entity for this sales channel. - Currency and price lists:
Choose the currencies you want to use for this channel and link a price list to each currency.
Step 3: Create an app in Shopify dev dashboard:
Login at https://dev.shopify.com/dashboard. Here, create a new app by clicking on "Apps" in the left-hand menu.


Next, there is a "Create app" button on the right.


Vervolgens kies je voor "Start from Dev Dashboard" en geef je de app een herkenbare naam, bijvoorbeeld "Afosto".


Use the following information to fill out the form that appears next:
App URL: https://afosto.app/api/apps/oauth/envoy-shopify/private-initialize
Embed app in Shopify admin: Not selected → This is selected by default.
Preferences URL: https://admin.afosto.app/company/apps/view/shopify
Scopes: read_assigned_fulfillment_orders,read_fulfillments,read_inventory,read_locations,read_merchant_managed_fulfillment_orders,read_orders,read_product_listings,read_products,read_publications,read_returns,write_fulfillments,write_inventory,write_merchant_managed_fulfillment_orders,write_orders,write_returns
Redirect URLs: https://afosto.app/api/apps/oauth/shopify
Then click "Release" at the bottom. In the popup, you don’t need to fill in anything—just click "Release" again.


Click on "Install." You will then be redirected to the Afosto platform. Do not fill in anything here yet—first, go back to the app you created in Shopify. https://dev.shopify.com/dashboard
Step 3: Provide Client ID & Client Secret
To complete the installation, you need to provide three pieces of information:
- Store domain: The same one you entered earlier in the process.
- Client ID
- Client Secret
You can find the Client ID & Client Secret in the Shopify environment. In the left-hand menu, click on "Settings":


At the top of the page, you will find "Credentials." Copy the Client ID and Secret and send them to your contact person at Afosto to complete the installation.
Step 4: Configure Shopify
Configure Settings
- Reference
Provide a reference for your integration so you can recognize it later.
Example: Shopify [store name] - Select Shopify Channel
Select the Shopify channel you want to connect to Afosto from the dropdown. - Stock updates
Checkbox: Send stock updates to a single location (use this option if you want to combine all Shopify locations into one Afosto stock location). - Configure your locations
Link your Shopify locations to the Afosto locations. - Synchronize
This setting determines whether orders from the selected Shopify channel should be synchronized with Afosto. - Synchronize Cancellations
Specify whether cancellations should be synchronized. - Synchronize Return Orders
Specify whether return orders should be synchronized. - Synchronize Stock Changes
Specify whether stock changes should be synchronized. - Synchronize from
Specify the date and time to start synchronization.
This determines from which point your orders will be synchronized with Afosto; this can also be a past date.
Click Save.
Step 5: Choose Shipper

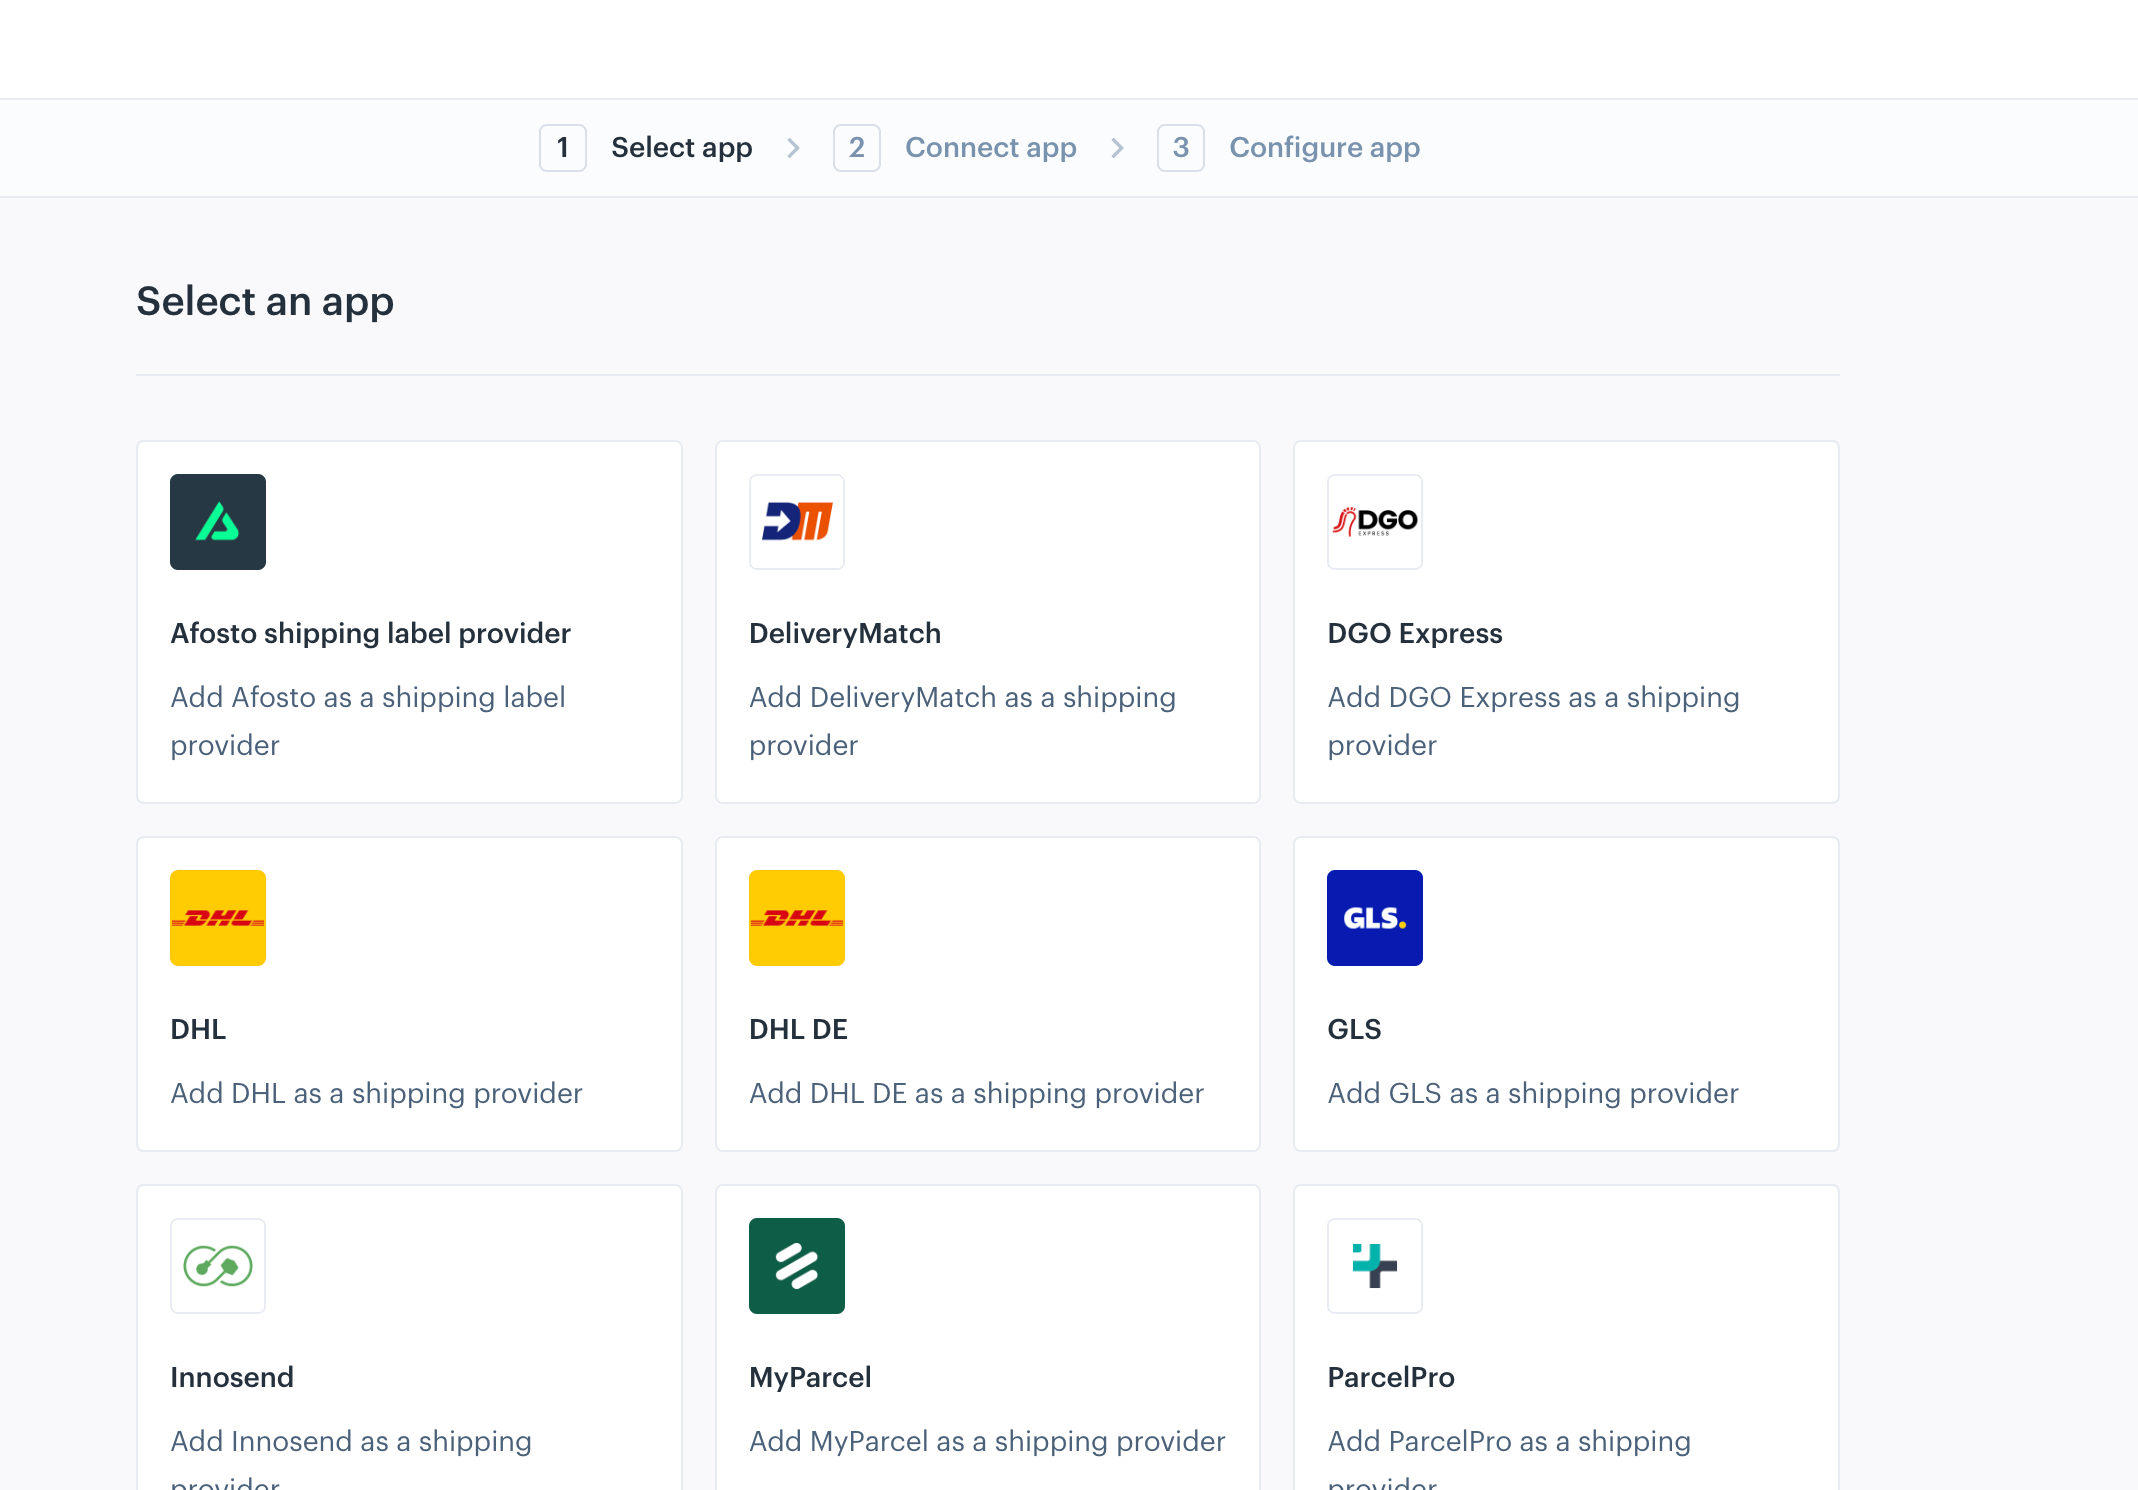
- Choose the shipper for your shipping labels:
Here you can select from different carriers for which you must have your own login and that you can connect to Afosto to retrieve shipping labels. If you prefer to create your shipping labels manually, you can choose the Afosto label provider. This way, you can ship orders manually and add your own track-and-trace code. - Sort your shipping methods from the linked carrier:
After linking a shipper, we retrieve all available methods, which you can sort by dragging them into an order with your most-used methods at the top. They will also appear in this order when you ship an order later.
Click Save.
Step 6: Create Shipping Methods
In this step, we will create the shipping methods. Here, you create methods for each shipping provider (for example, PostNL or DHL), link them to your shipping zones (for example, the Netherlands), and set the shipping costs per method.
- Select your carrier
- Select the shipping zone
- Select whether the shipping method is enabled or disabled by default
Optionally, add exceptions to this default setting:
(With exceptions, you can activate or deactivate a shipping method for a specific customer, country, product category, or other criteria) - Set the visible name and description of the shipping method
The name and description are shown to your customers in our headless checkout. - Optionally, add translations for the name and description
- Set the shipping costs with any exceptions
- Select the correct options for this shipping method
By selecting options, you filter certain methods with the carrier, reducing the list of available methods when shipping an order.
Click Add.
The shipping method is now added, and you can start processing your Shopify orders in Afosto.
Done!
Congratulations! Your Shopify store orders are now synchronized with Afosto's OMS, and you can use our extensive WMS and fulfillment capabilities for your connected Shopify environment.
Add Additional Shopify Channels
If you want to add more Shopify channels, you can repeat the above steps. All channels can be linked to one or more warehouse locations in Afosto.
Need Help?
If you need assistance with the setup, contact us at [email protected] or use the chat feature in your Afosto environment.
- Overview of the Shopify Integration
- Step 1: Sign up for Afosto
- Step 2: Create Shopify Sales Channel in Afosto
- Add channel
- Fill in the channel settings
- Step 3: Create an app in Shopify dev dashboard:
- Step 3: Provide Client ID & Client Secret
- Step 4: Configure Shopify
- Configure Settings
- Step 5: Choose Shipper
- Step 6: Create Shipping Methods
- Done!
- Add Additional Shopify Channels
- Need Help?