Price Batchjob
The price batch job can be started from the bulk actions menu where you'll find it under the products batch jobs.
Google Sheets Template
A Google Sheets template for the price batchjob can be found here: Link to spreadsheet
Price Batchjob Configuration
We will outline step by step on how to do a price batch, the things you can consider per step, and tips and tricks below.
1. Starting a batchjob
To start the batchjob click on start batch, on the update prices tile. This will open up the batchjob flow.
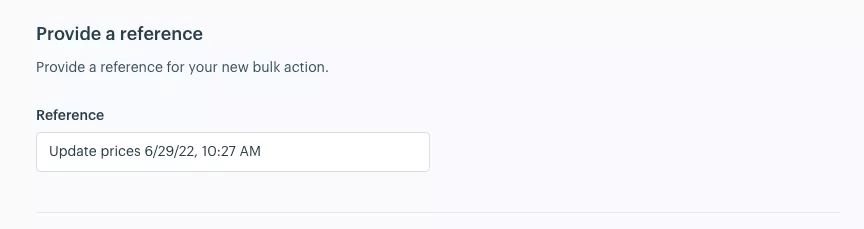
2. Input reference
The reference of the batchjob is prefilled with the name of the batchjob, date and time. You can change this if you like.

3. Select pricing list
Select the pricing list for which you would like to start the batchjob.
4. Advanced Settings
Under the advanced settings, you can round prices and set the active at date and time for the updated prices.
Round prices
Here you can fill in a value to which the prices will be rounded.
For example: if you fill in $ 1,00 all prices will be rounded up to the nearest multiple of $ 1,00 so $ 8,95 will be $ 9,00 etc.


Active at
With this setting, you can determine when the prices of the batchjob will be active. By using this setting, you can for example plan a Black Friday sale or end-of-season sale from a set date and time.


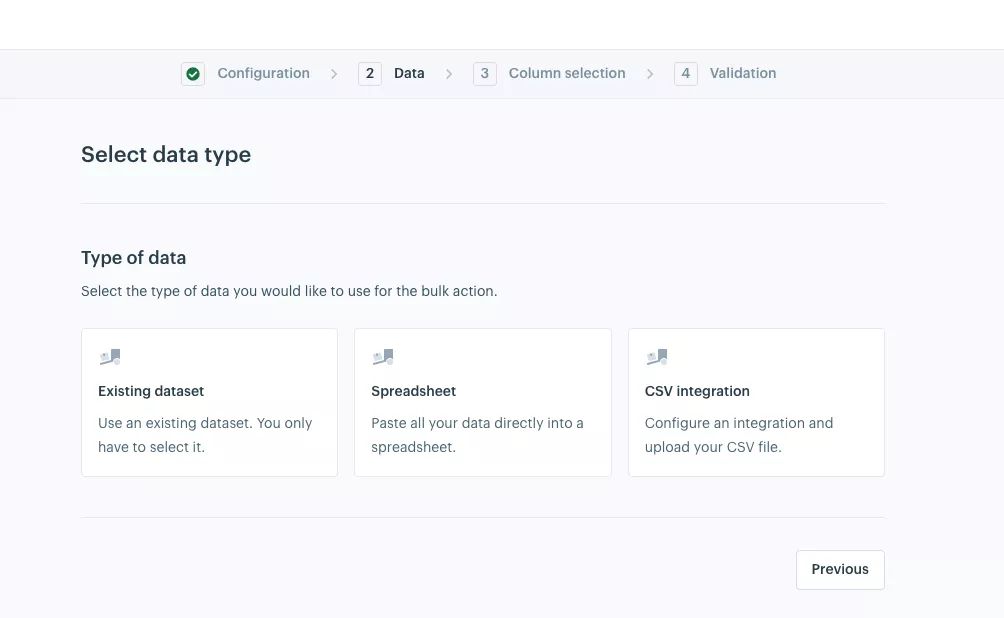
Price Batchjob Data
In the second step you can choose how you would like to provide the data of your batchjob. For this, we have 3 options:
- Existing data set
- Spreadsheet
- CSV integration

Existing Data Set
Every time you create a spreadsheet in Afosto you will need to provide a reference, by doing this you are creating a so-called Data Set which you can use later on in another batchjob. By doing this, you don't have to provide us with the same data every time you're creating a batchjob.
By selecting an existing data set, you can select one of the previously created data sets from your Afosto account.
After selecting an existing data set, you will get an overview of the data in that dataset.
Spreadsheet
If you select the spreadsheet option, you are able to fill in or copy-paste it into a spreadsheet form. This will also create a data set which you can then access through the existing data set function.
After filling out this spreadsheet and clicking on next step, you will get an overview of the newly created data set.
CSV integration
When selecting CSV integration, you can choose to either select a previously created CSV integration or create a new CSV integration by clicking on + new CSV integration.


New CSV integration
By creating a new CSV integration, you are able to select it later for different batch jobs throughout the platform.
Name
Fill in the name of the new CSV integration. It is wise to fill in a name which you can later recognize by making a description of the data in the CSV. For example: Product Prices - [brand x] - [date]
Setup CSV integration
Here you can choose between pasting a URL or uploading a CSV file. The URL option needs to be publicly available.
Choose seperator
With this setting, you can select the separator of the CSV file you've selected in the previous step. The available options are: Tab, Comma, Semicolon, Space.


After adding a new or selecting an existing CSV integration, you will get an overview of the data inside the CSV file.
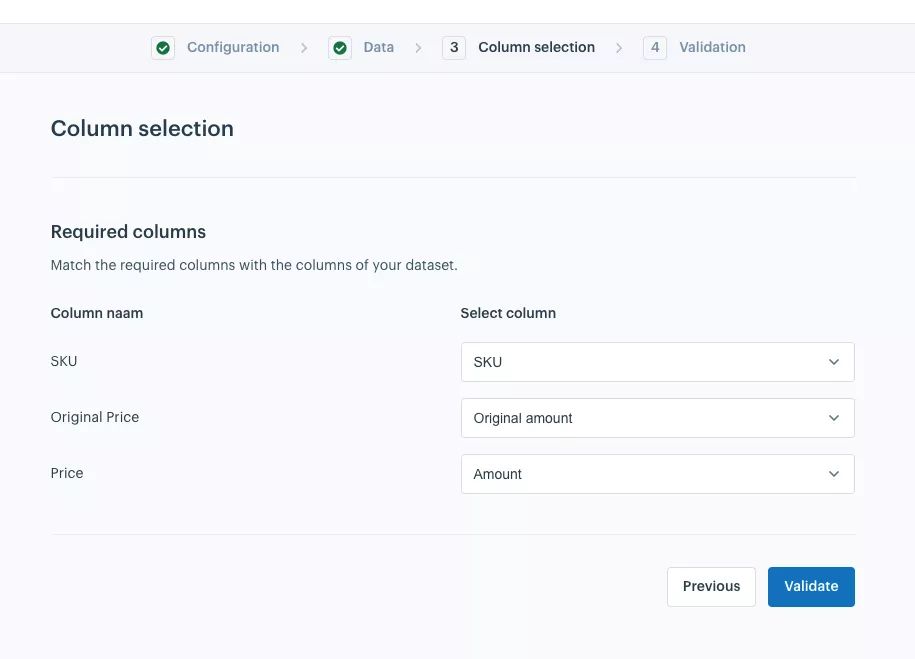
Column Selection
In the column selection step, you will be able to assign the columns of the data set from the previous step to the corresponding fields required for the selected batchjob.

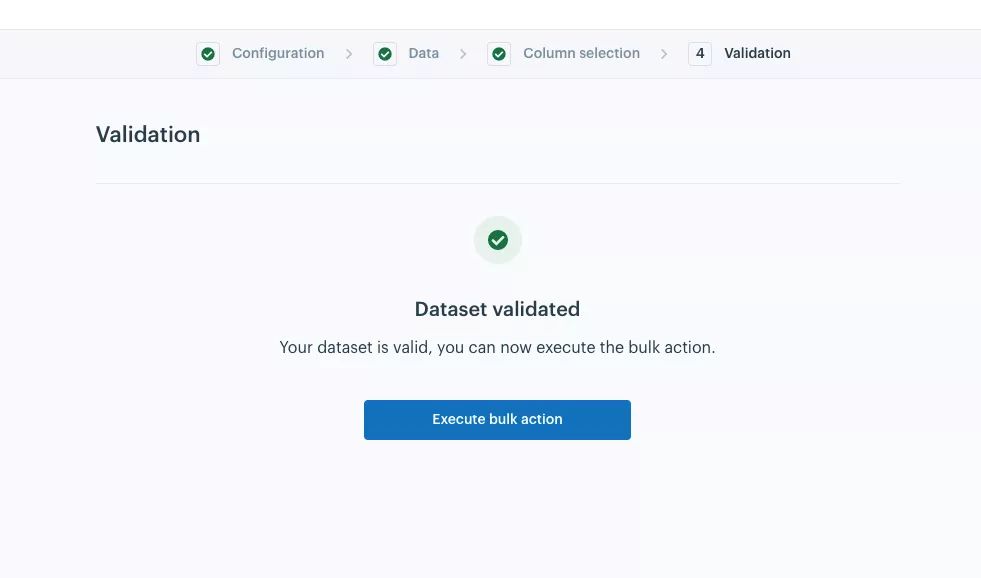
Validation
After assigning the columns to the fields of the batch job and clicking on next, the batch will be validated by the system. Once validated, you can run the batch job and the prices will be updated according to the data provided!