Spooler Desktop
With Spooler Desktop, you can easily automate your printing processes without additional hardware. Connect to all printers within your network and send print commands via an API. Spooler works perfectly with our WMS app to automatically print package labels and packing slips during the picking and shipping of your orders. The difference with the normal Spooler is that you don't need to add hardware to your network. You only need a computer on which you turn on the application.
To use Spooler Desktop, download the Spooler application on your computer. This application can find and control printers within the same network. You can install Spooler on both Windows and Mac computers by following the instructions below.
Windows Installation
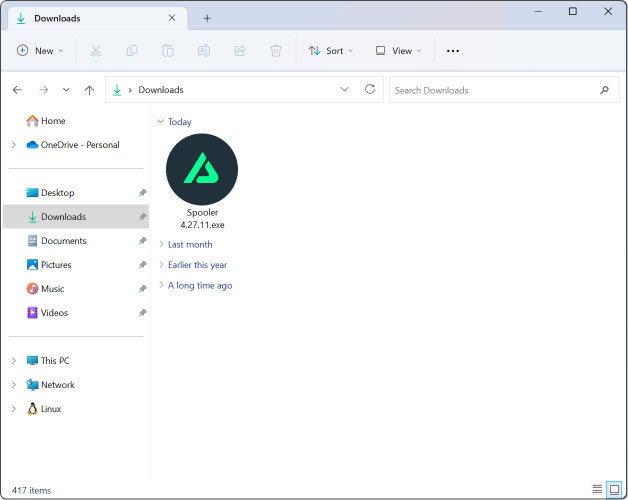
Download the Spooler Desktop application via the Windows download link. When the download is complete, execute the installation.

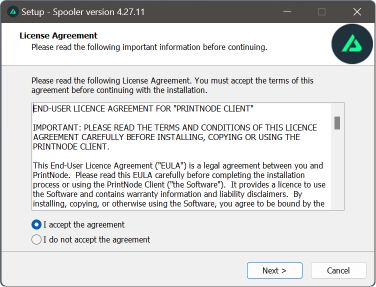
Accept the license agreement to proceed with the installation and click on "Next".

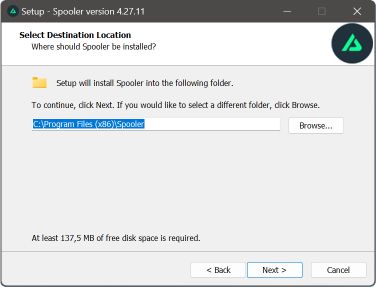
In the next window, choose the folder where the application should be installed. The default folder where your programs are located is already pre-filled. If you want to select a different folder, click on "Browse" to choose one. Click "Next" when the folder is correct.
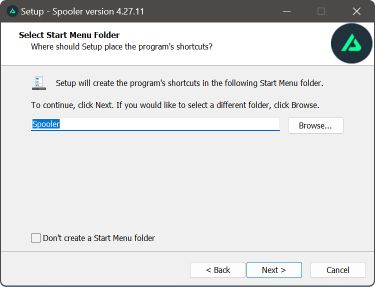
In the next window, you can add a folder to your computer's Start Menu. This provides an easily accessible location to open the application if it is closed. Choose a different folder by clicking on "Browse." If you don't want this, check the "Don't create a Start menu folder" option to skip this step. Click "Next" when everything is set to continue.

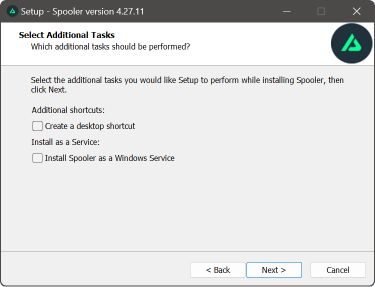
In the following window, you have the option to add a shortcut to the desktop. Check the first box if you want this.
If you are installing the Spooler application on a multi-tenant machine (specifically, with more than one logged-in user), it is best to install it as a Windows Service.
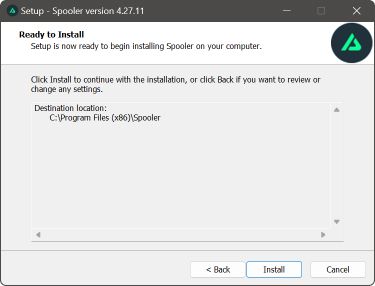
You are now ready to install the Spooler application. Review the settings and then click "Install" to start the installation.

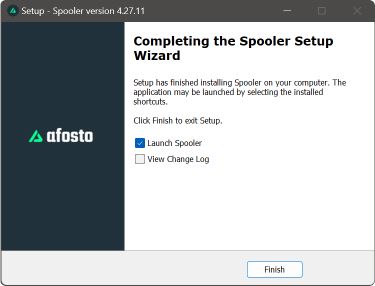
The Spooler application is now installed and ready for use. As soon as you click "Finish," the application will start.
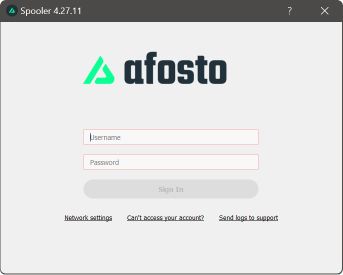
Windows Login
Once you have installed the application, you can open it. To proceed with the application, you need special login credentials that link Spooler to your Afosto Account. You can request these by sending an email to [email protected].
Once you have received these details, you can enter them into the application.

MacOS installation
Download the Spooler Desktop application via the MacOS download link. Open the downloaded ".dmg" file. Now drag the Spooler application to your "Applications" folder.

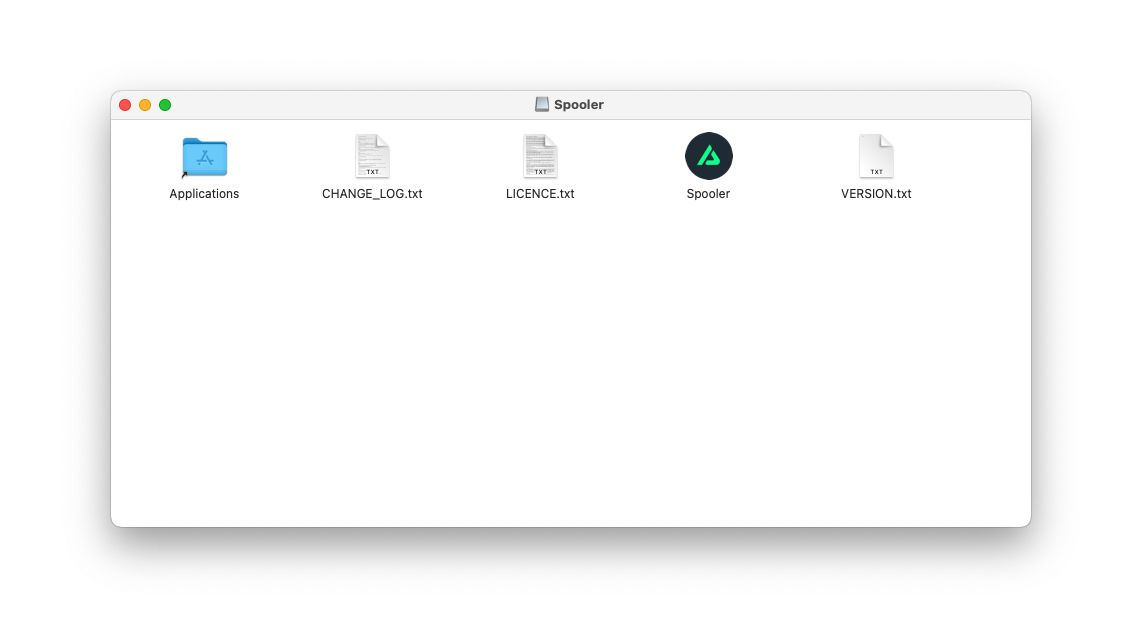
Then, in your "Applications" folder, search for the Spooler application to start it.
During the installation, you may need to give additional permissions to the application. These are necessary to read your network to find the printers.
MacOS Login
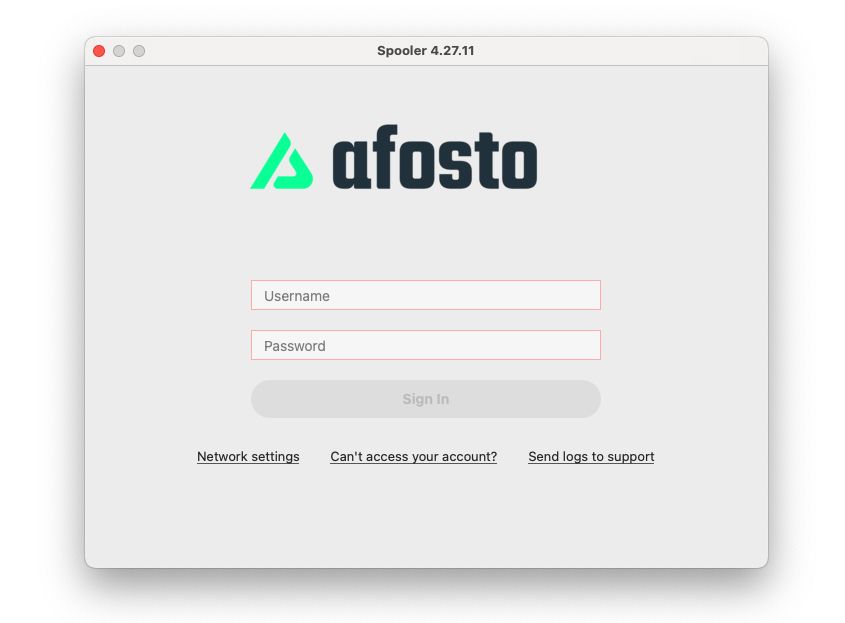
Once you have installed the application, you can open it. To proceed with the application, you need special login credentials that link Spooler to your Afosto Account. You can request these by sending an email to [email protected].
Once you have received these details, you can enter them into the application.

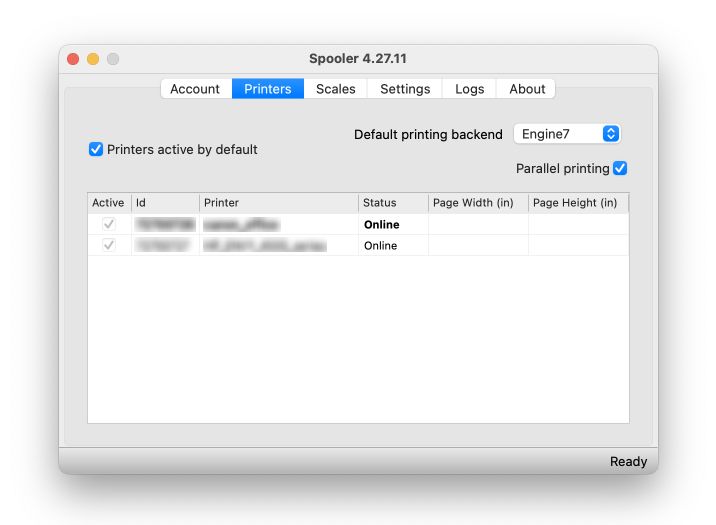
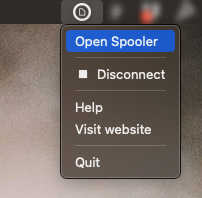
Once you are logged in, you will see a new icon in the top right corner of your screen; this is the Spooler application. If you click on it, you will see the option "Open Spooler". Clicking on this opens a window where you can adjust the settings.

Printers Overview
Spooler immediately finds the printers that are available in your network. By default, all printers are made available to be accessed via the API. If you don’t want to make all printers available, uncheck the "Printers active by default" option, and then check or uncheck each printer in the table. If the checkbox in the table is unchecked, this printer is not available via Spooler.