Give Discount to Contacts with a Label
Using the template Discount for Contacts with Label, you can give a discount to customers with a certain label. This works based on both contact labels and organisation labels, and is useful for B2B applications — for example when you have special agreements with certain customers or want to reward loyal customers.
Before you set up this price rule, the labels need to exist. You can read how to create and manage label groups — for contacts and organisations — in Working with labels.
Adding a Price Rule
After adding the labels, you can continue with creating the price rule.
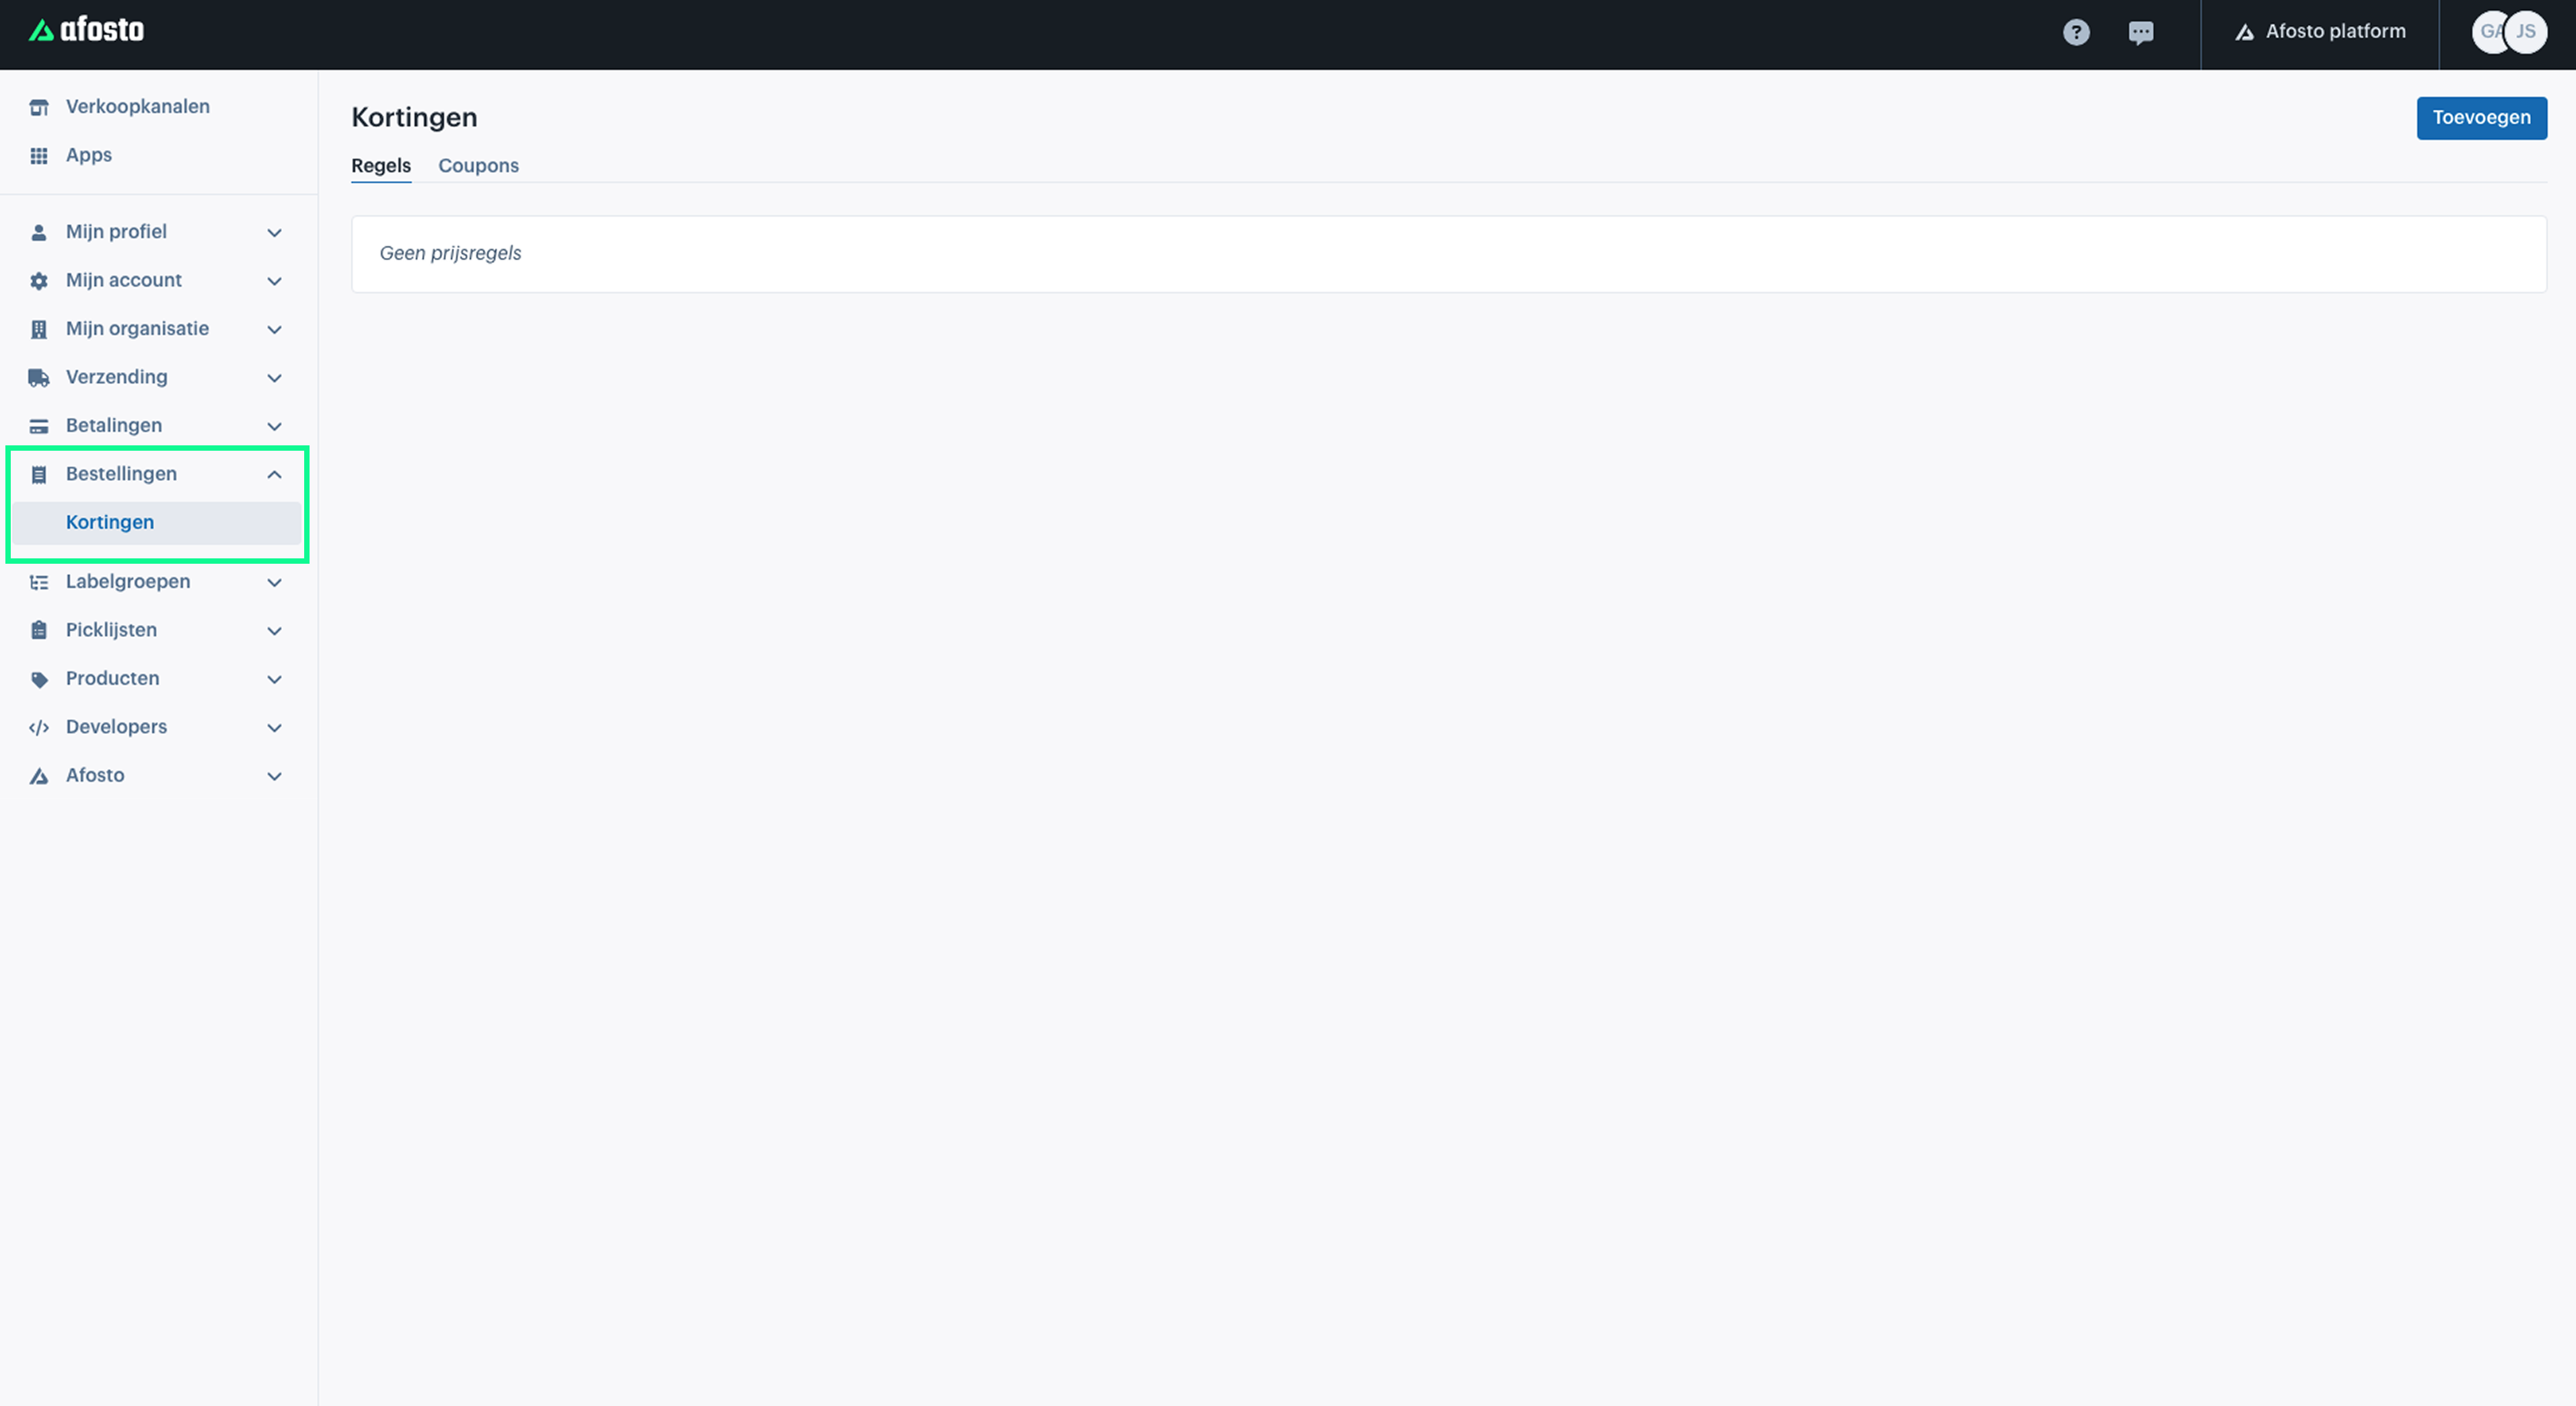
- Go to Orders in the Afosto admin environment.
- Select Discounts from the dropdown menu.
- On this page, under the Rules tab, you will find an overview of all configured price rules.

Additionally, under the Coupons tab, you can add new coupons and promo codes. Here, you can also link price rules, such as the template “Marketing Discount Code”, which allows you to give customers a discount after applying a coupon or promo code.
Start with a Template or Custom Setup
For now, we continue with the price rule: Discount for Contacts with Label.
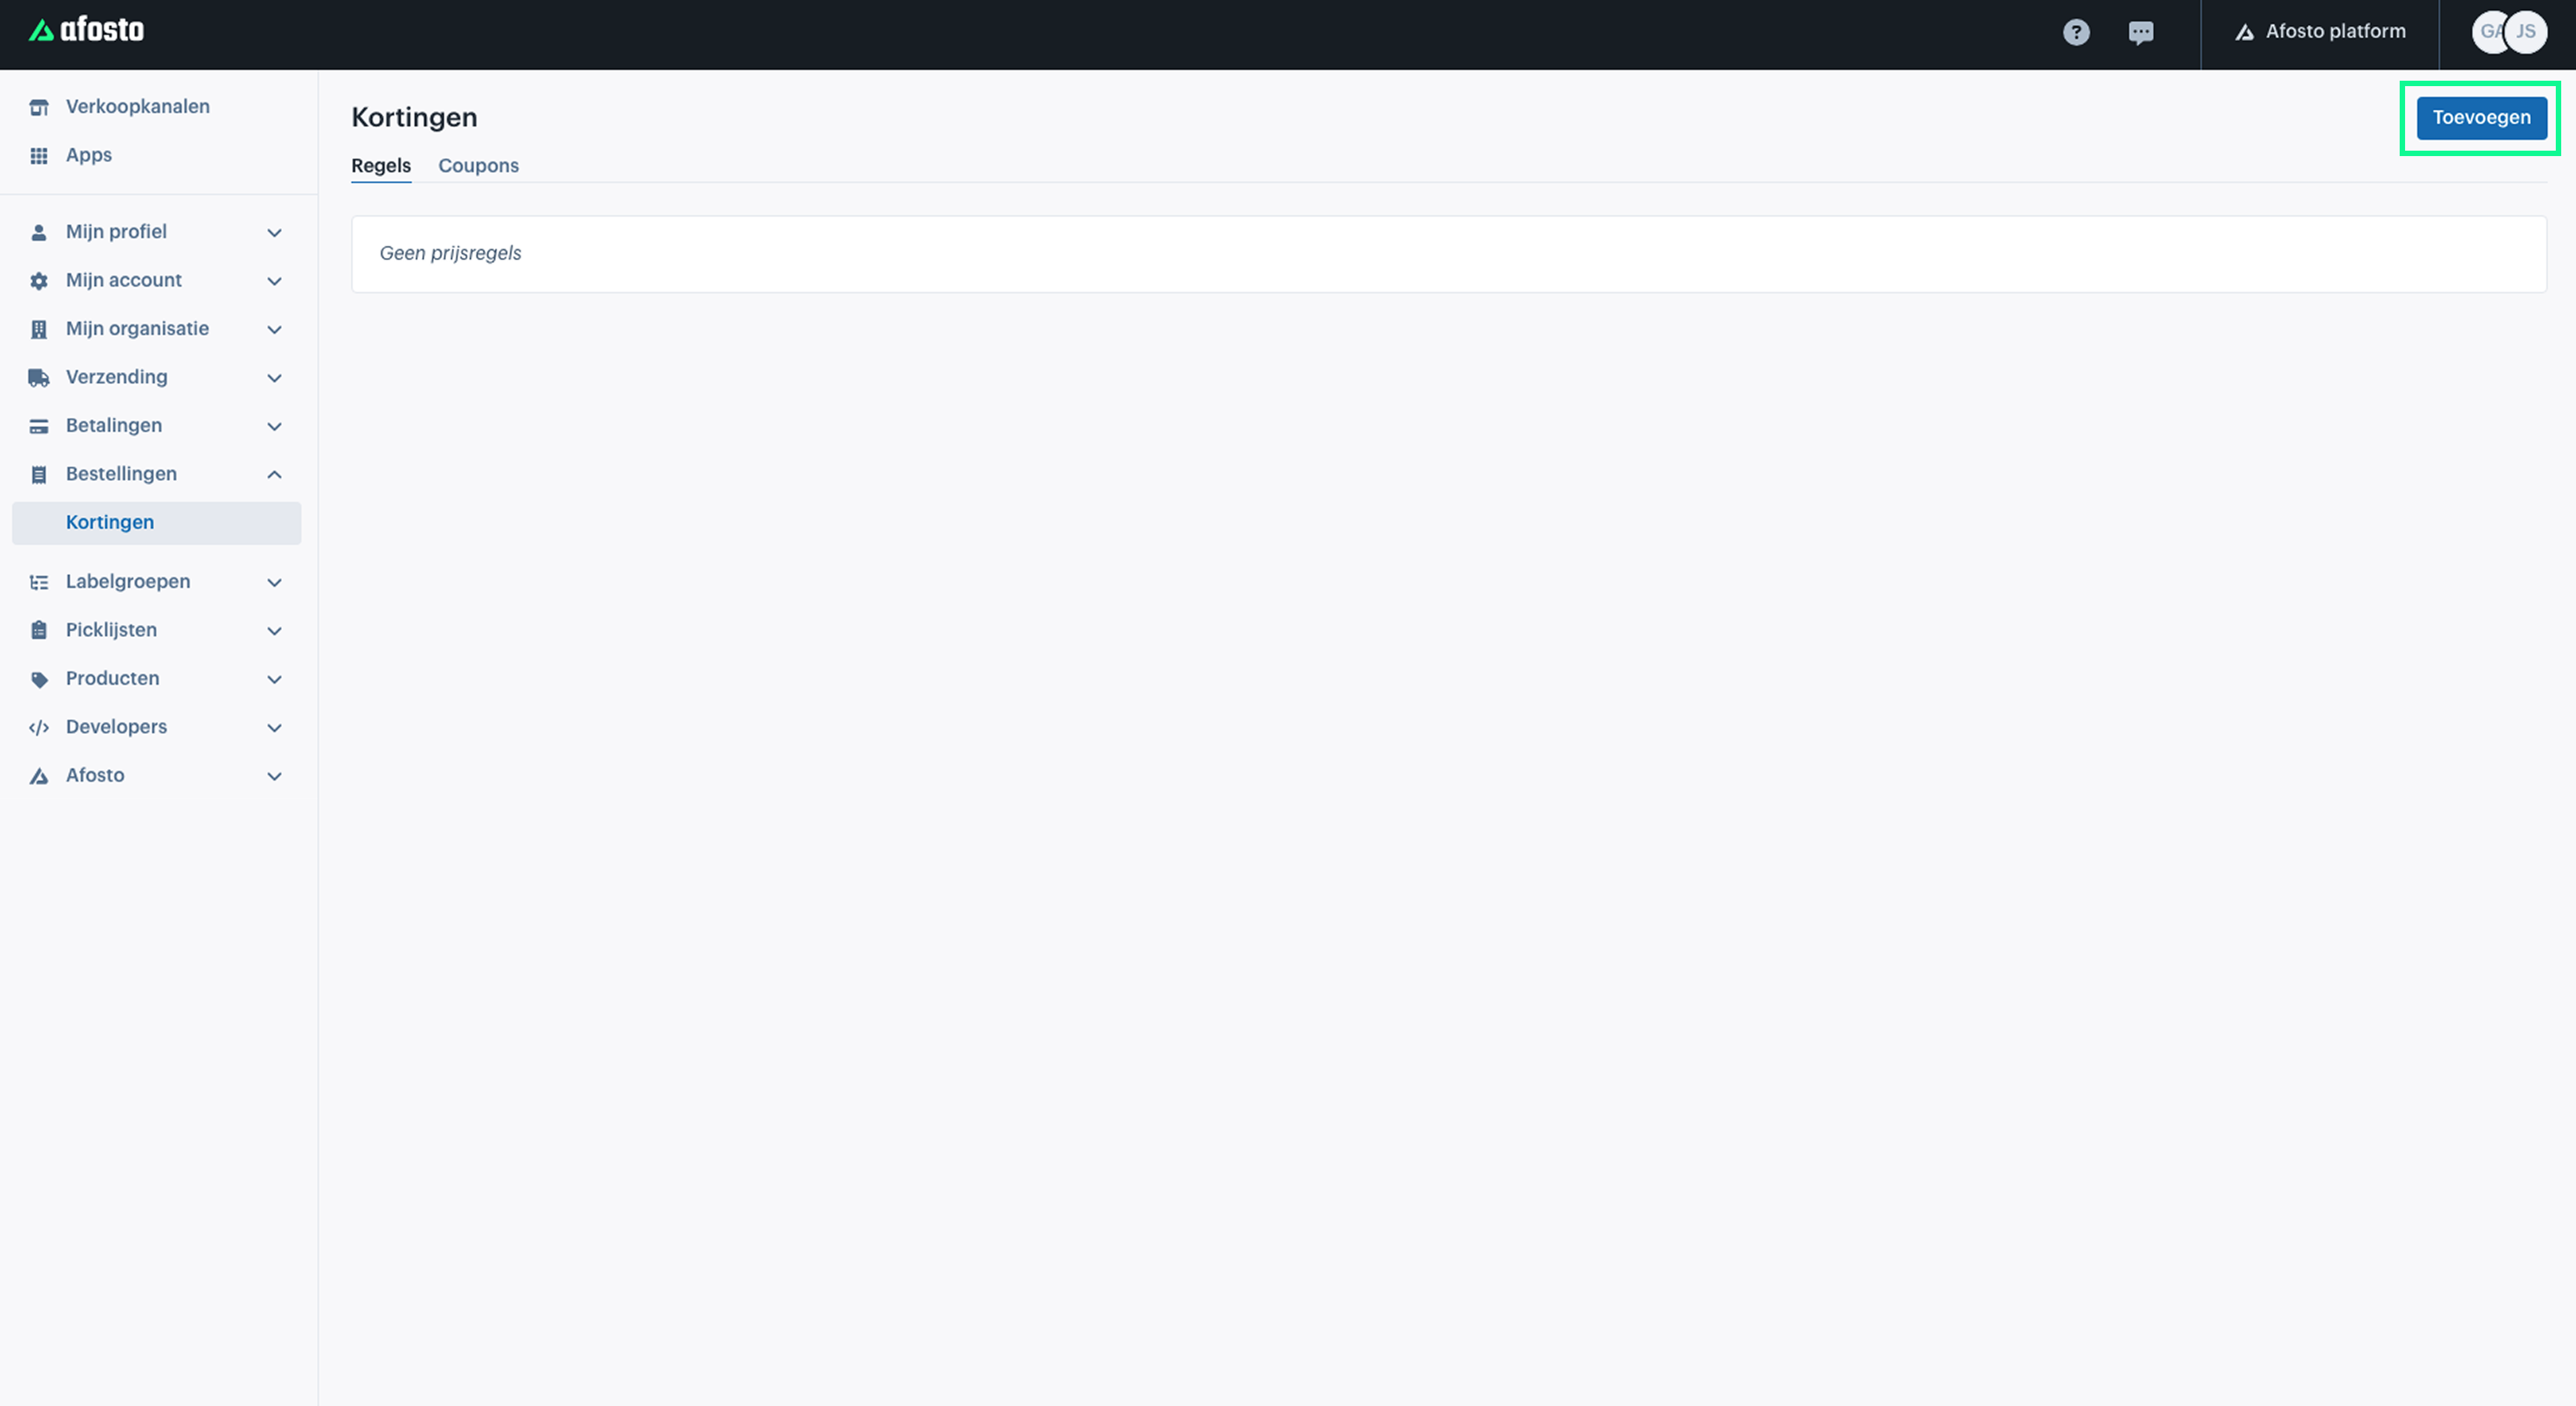
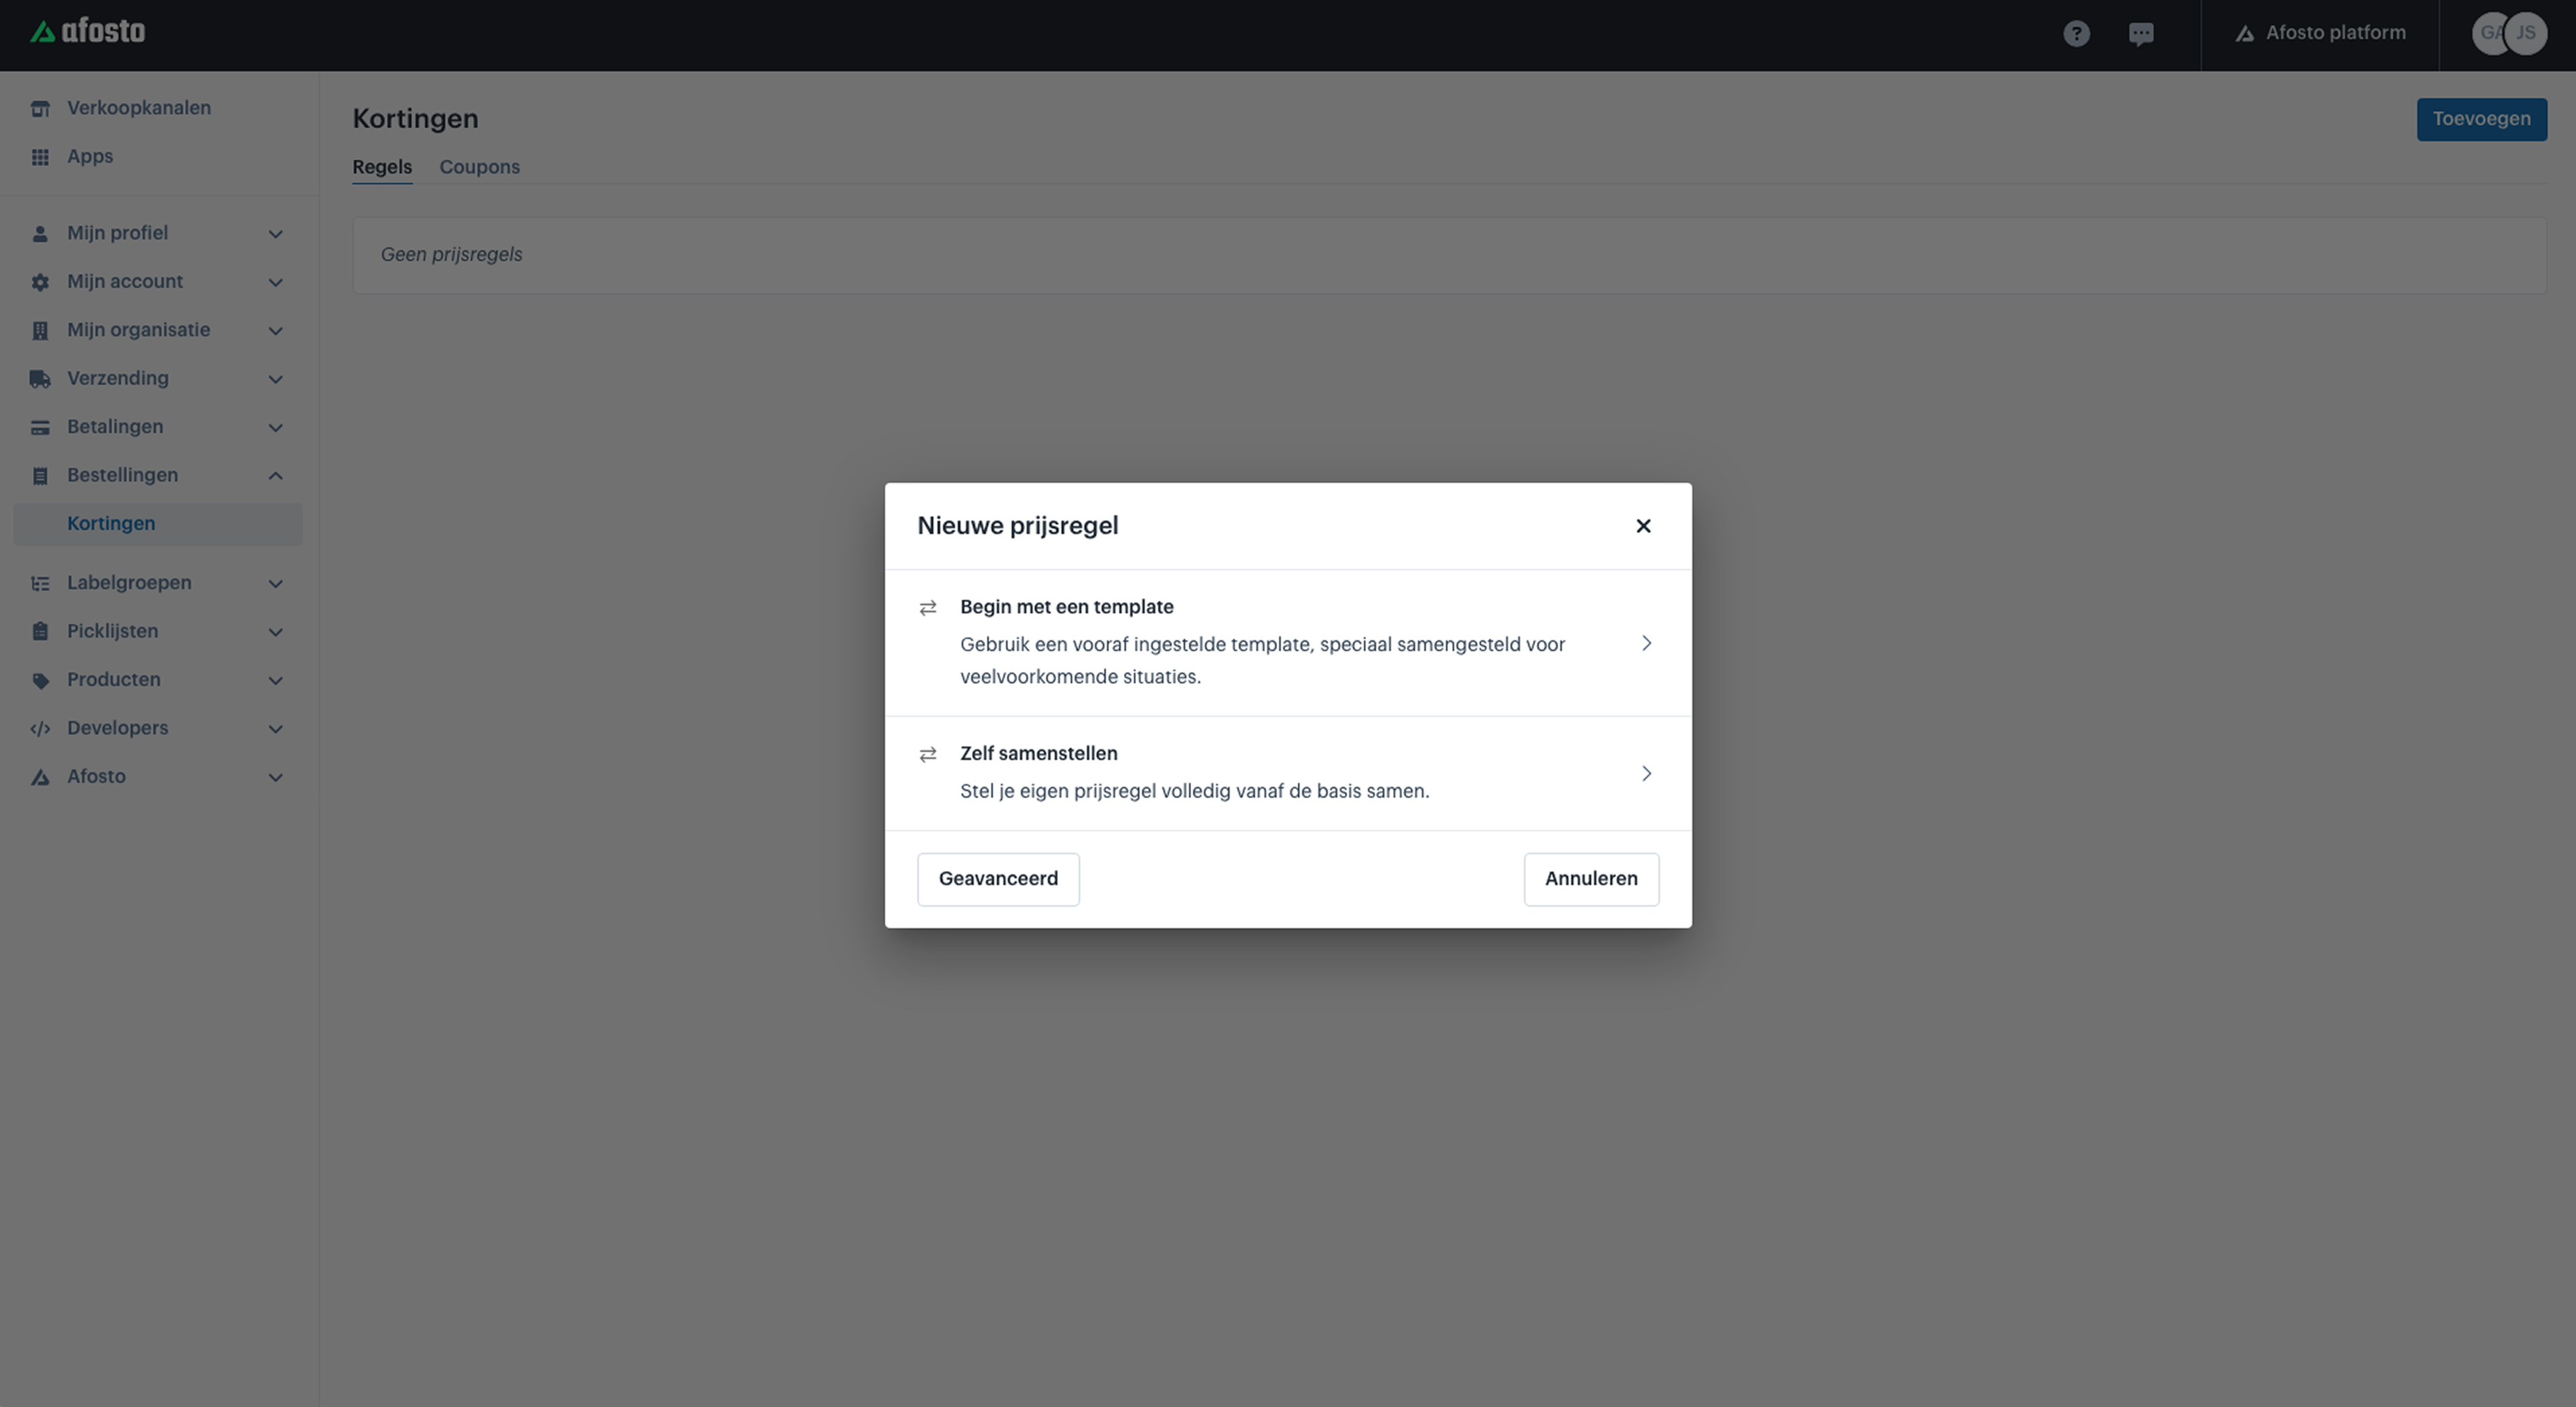
- Click Add in the top-right corner to create a new price rule.
- Choose whether to start with a template or custom setup.
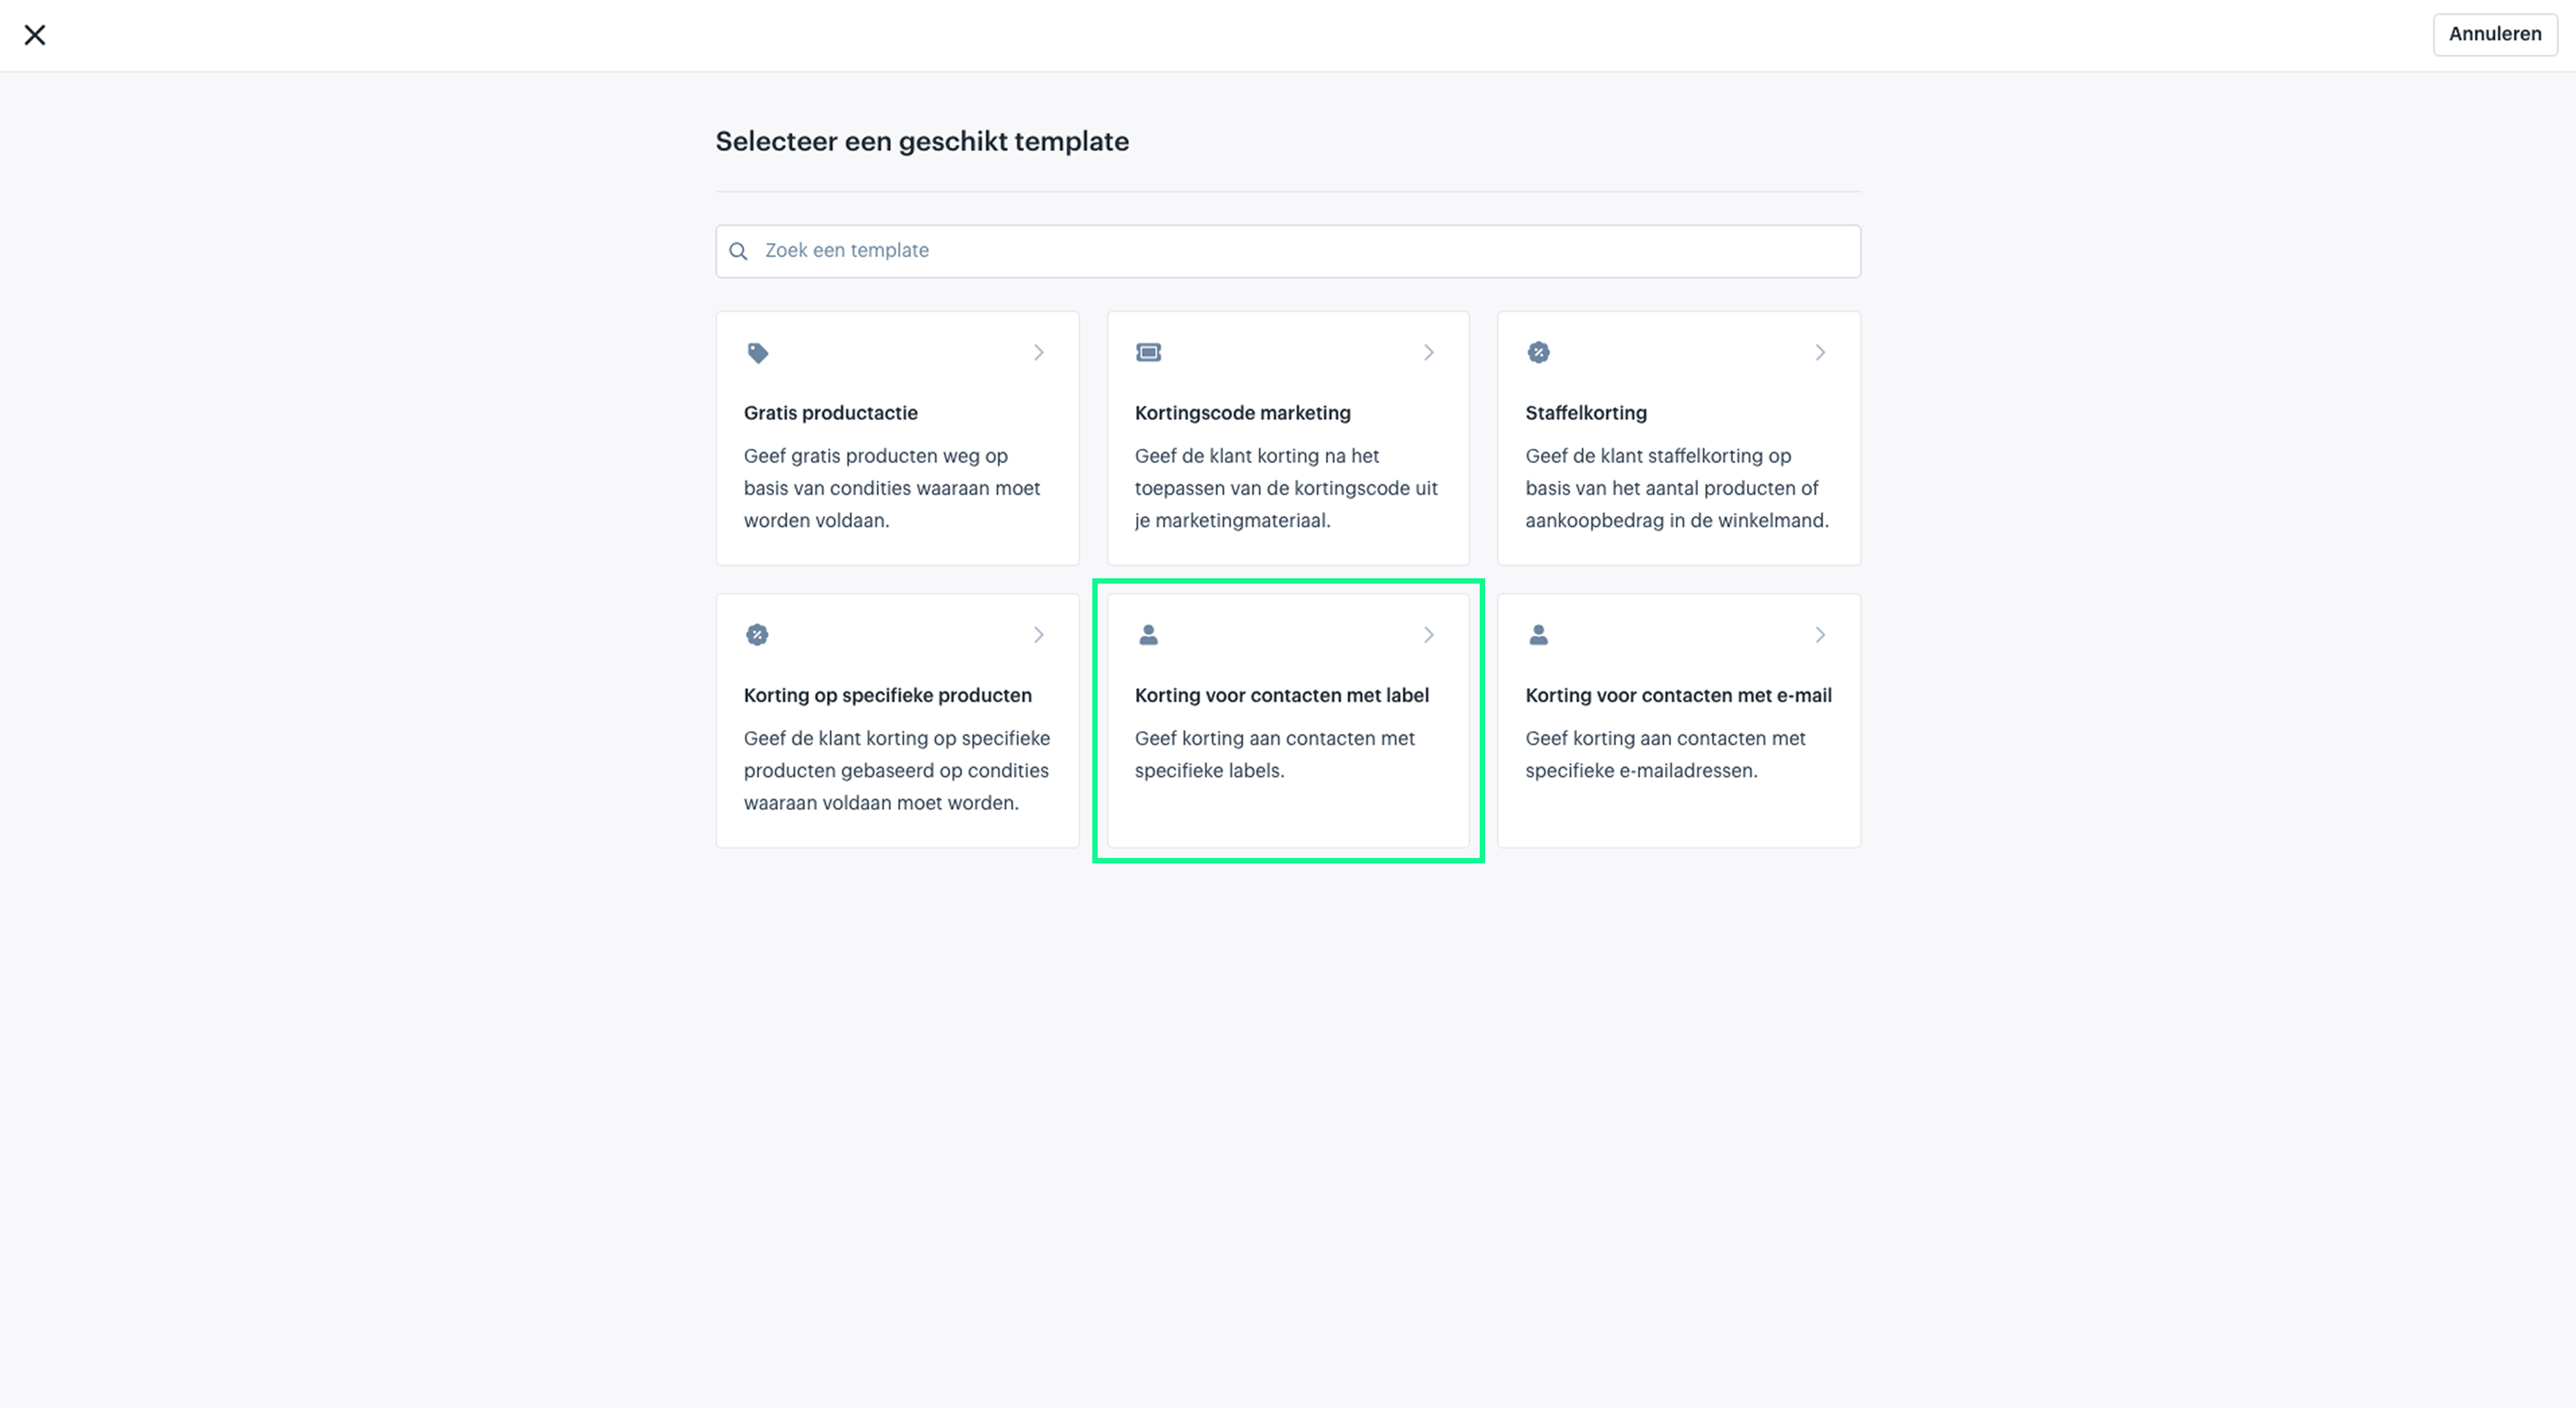
For this example, we select the template: Discount for Contacts with Label.


Price Rule: “Discount for Contacts with Label”
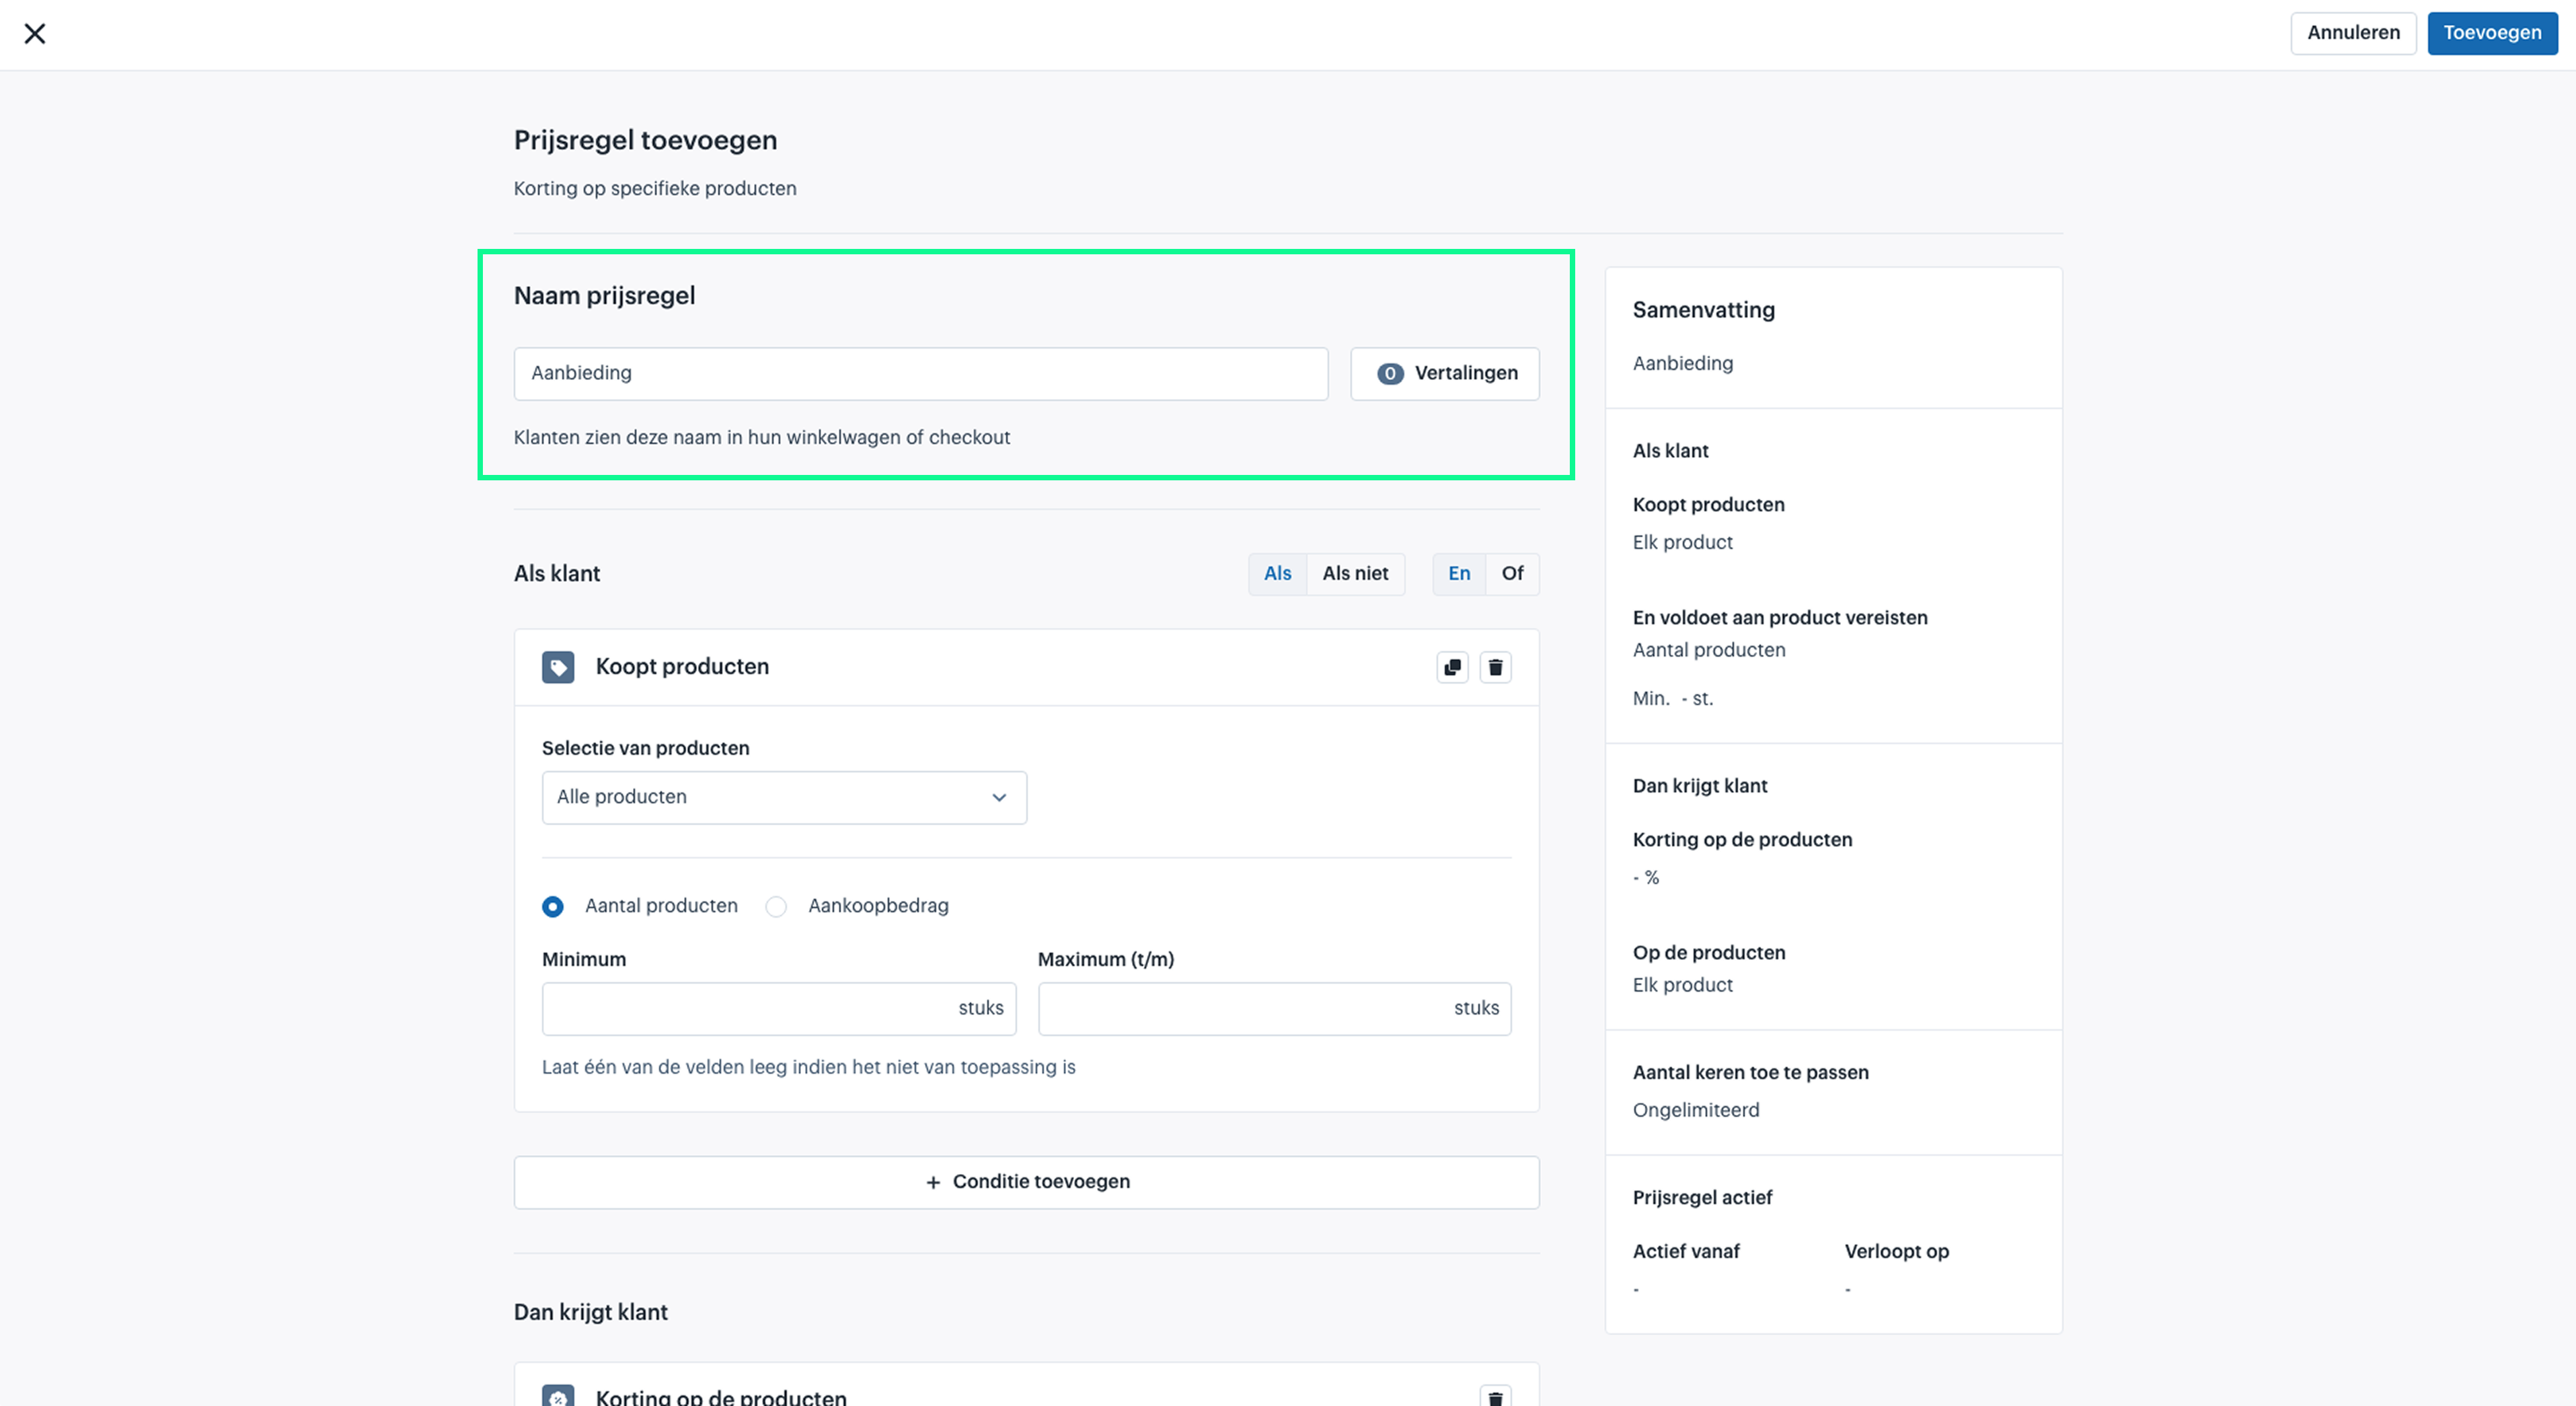
First, give the price rule a name. This name will later be visible to customers, for example in their shopping cart or during checkout, so choose a clear and descriptive name.
In addition to the default name, you can also add translations, for example if you want to apply the same price rule across multiple sales channels, such as webshops in different languages (e.g., a .de or .be webshop).

If Customer: Contact Contains Label
After giving the price rule a name, it’s time to set the conditions the rule must meet.
Since you chose the template “Discount for Contacts with Label”, the required condition is already set. In this case, the condition is: Contact contains label.
For this condition, you need to specify:
- Which label group the contact must belong to
- Which labels the contact must have (“One of”) to qualify for the discount you will define later under “Then the Customer Gets”
You can also specify which labels the contact must not have (“None of”).
If you want to apply the discount at the organisation level, choose the condition Organisation contains label instead of Contact contains label. It works the same way, but looks at the label of the organisation the contact is linked to. Labels on an organisation apply to the linked contacts.
In this example, we use the label group we created earlier: Customer Tiers.
We then select only the label “Diamond”, because we want to set a different discount percentage for each label.

If Customer: Additional Conditions
In some cases, you may want to add extra conditions that an order must meet to qualify for the discount.
For example:
- Apply the price rule only to a specific sales channel instead of all channels
- Require the customer to enter a coupon or promo code before the discount is activated
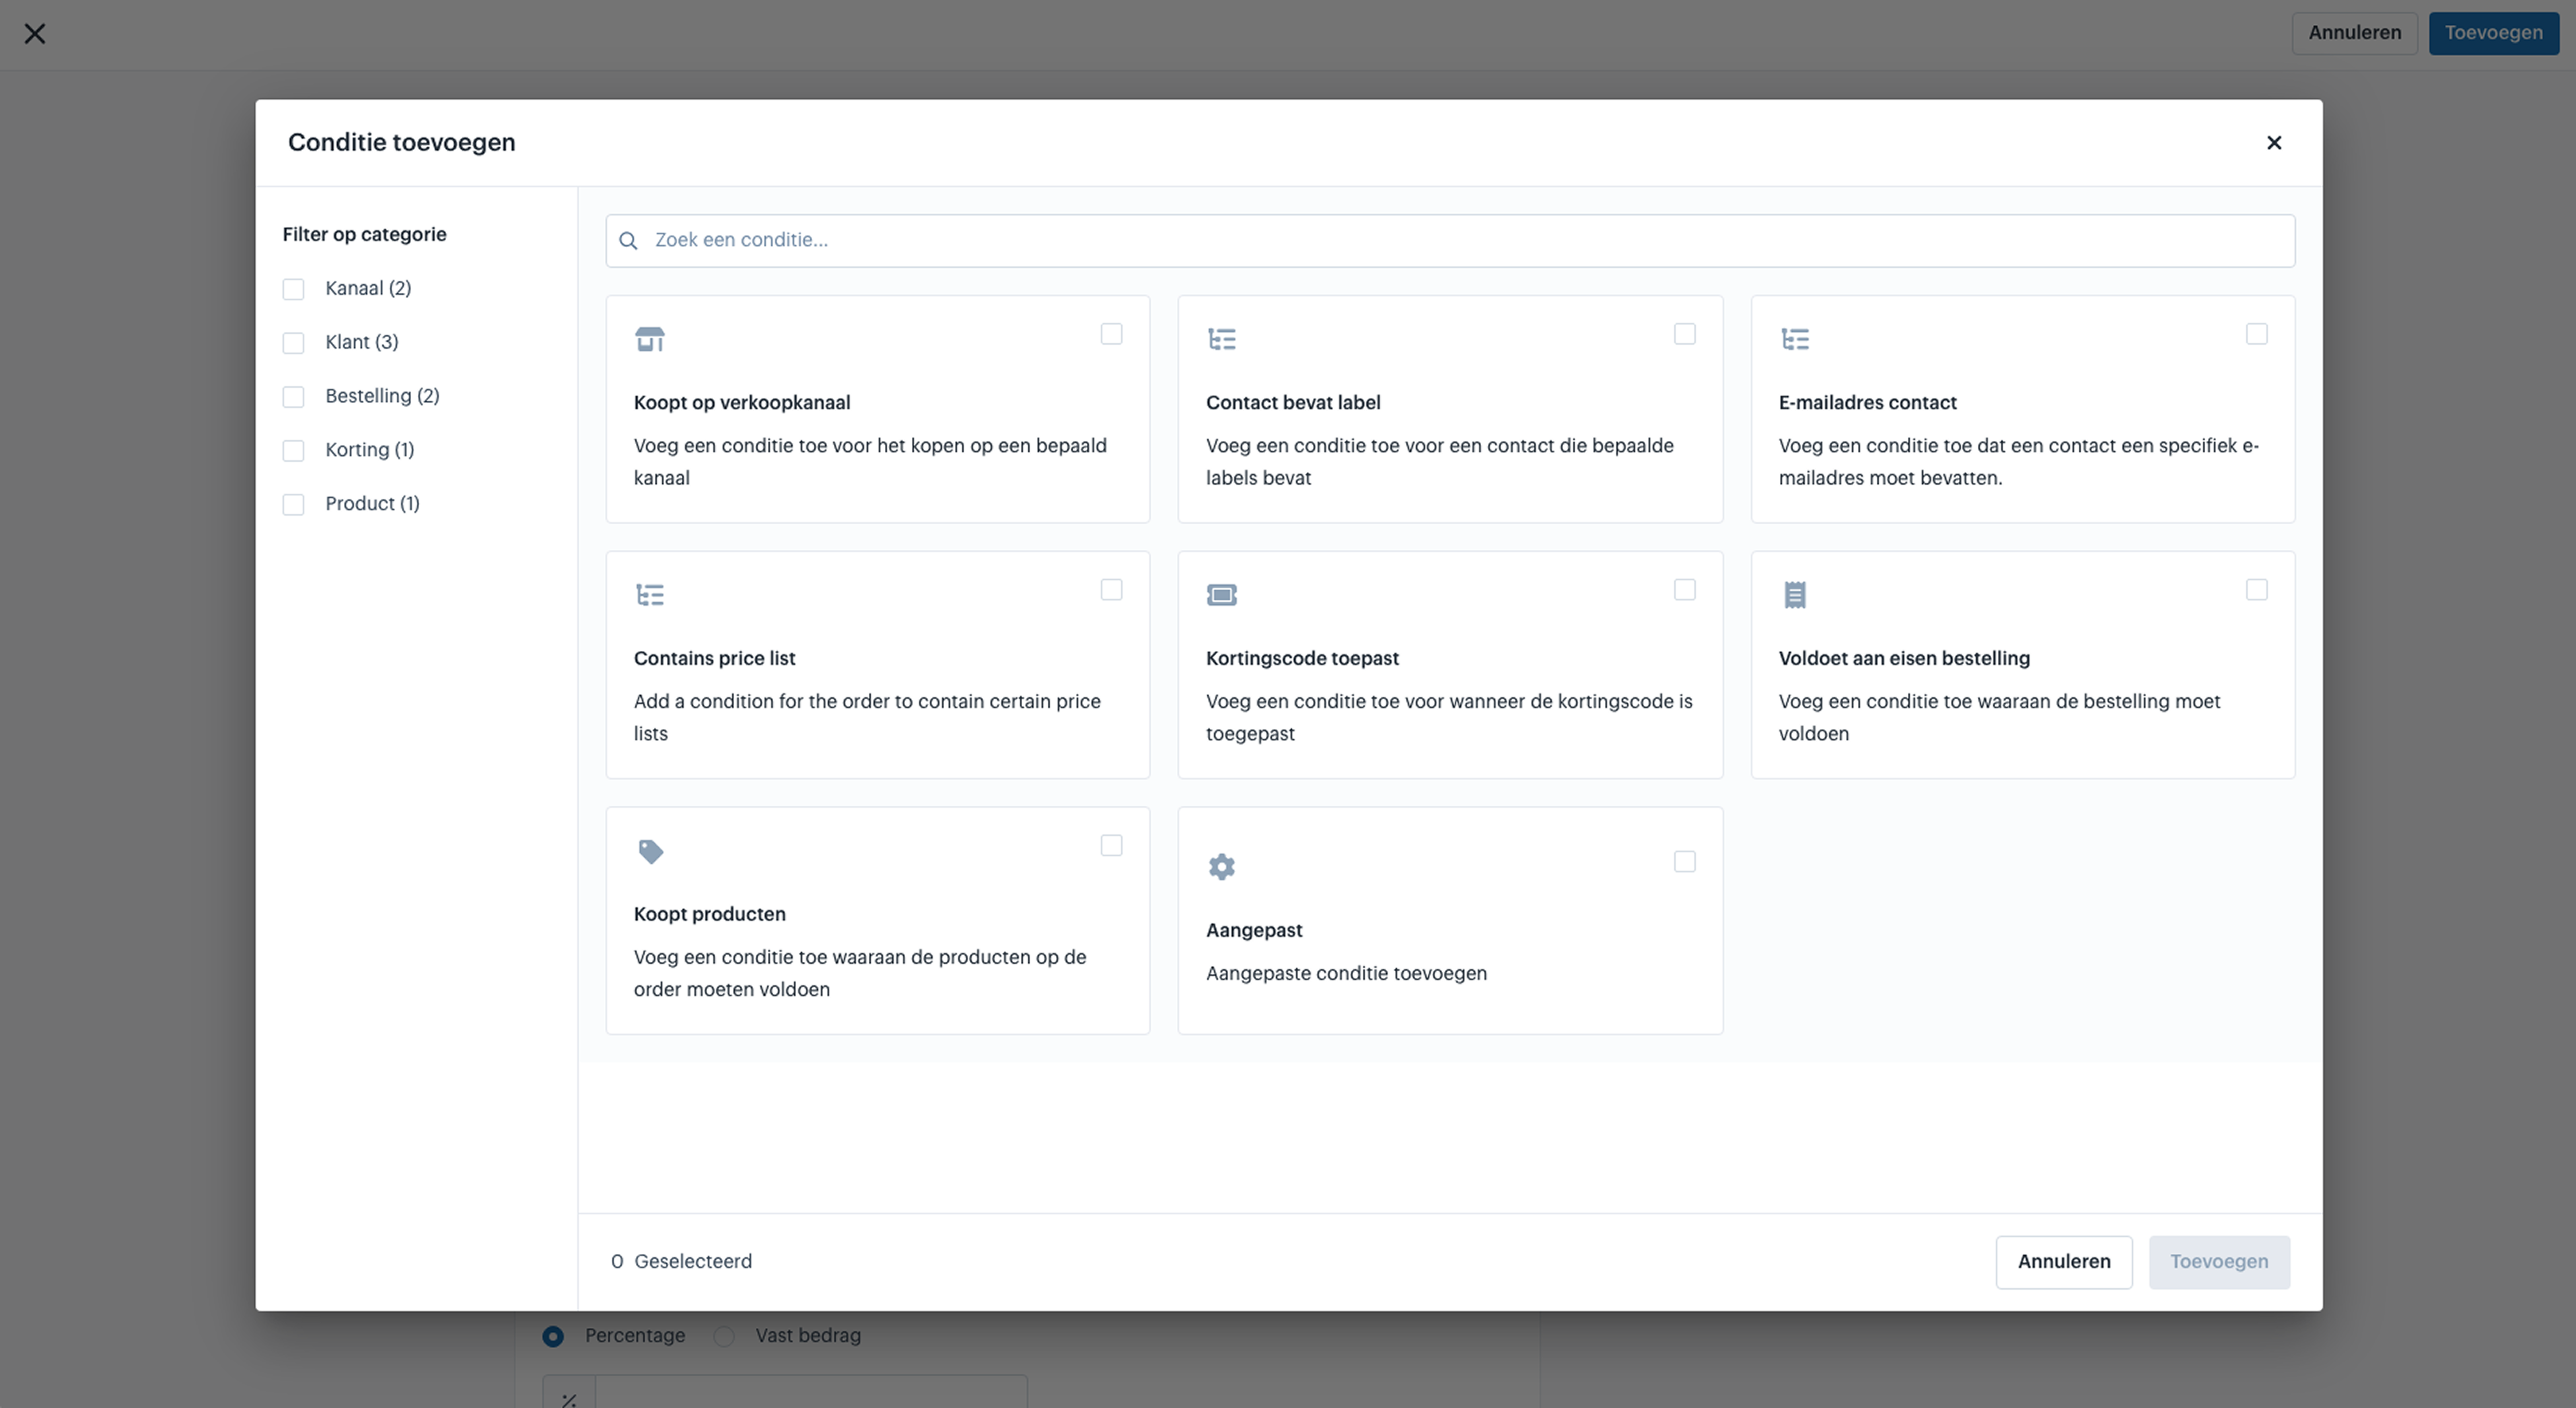
In addition to the condition “Contact contains label,” you can add the following extra conditions:
- Buys on Sales Channel
- Contact Contains Email Address
- Belongs to Price List
- Applies Discount Code
- Meets Order Requirements
- Buys Products
- Custom

Then the Customer Gets: Discount on the Order
After setting the conditions the customer must meet, it’s time to define the discount.
The template by default uses the condition “Discount on the Order”, but this can be removed if you want to apply a different type of condition. Click the trash icon to delete the condition, and then click “Add Condition” to select a new one.
Next, specify how much discount the customer receives when they have the specified label and complete the order at checkout. You can choose between:
- Percentage Discount
- Fixed Amount Discount


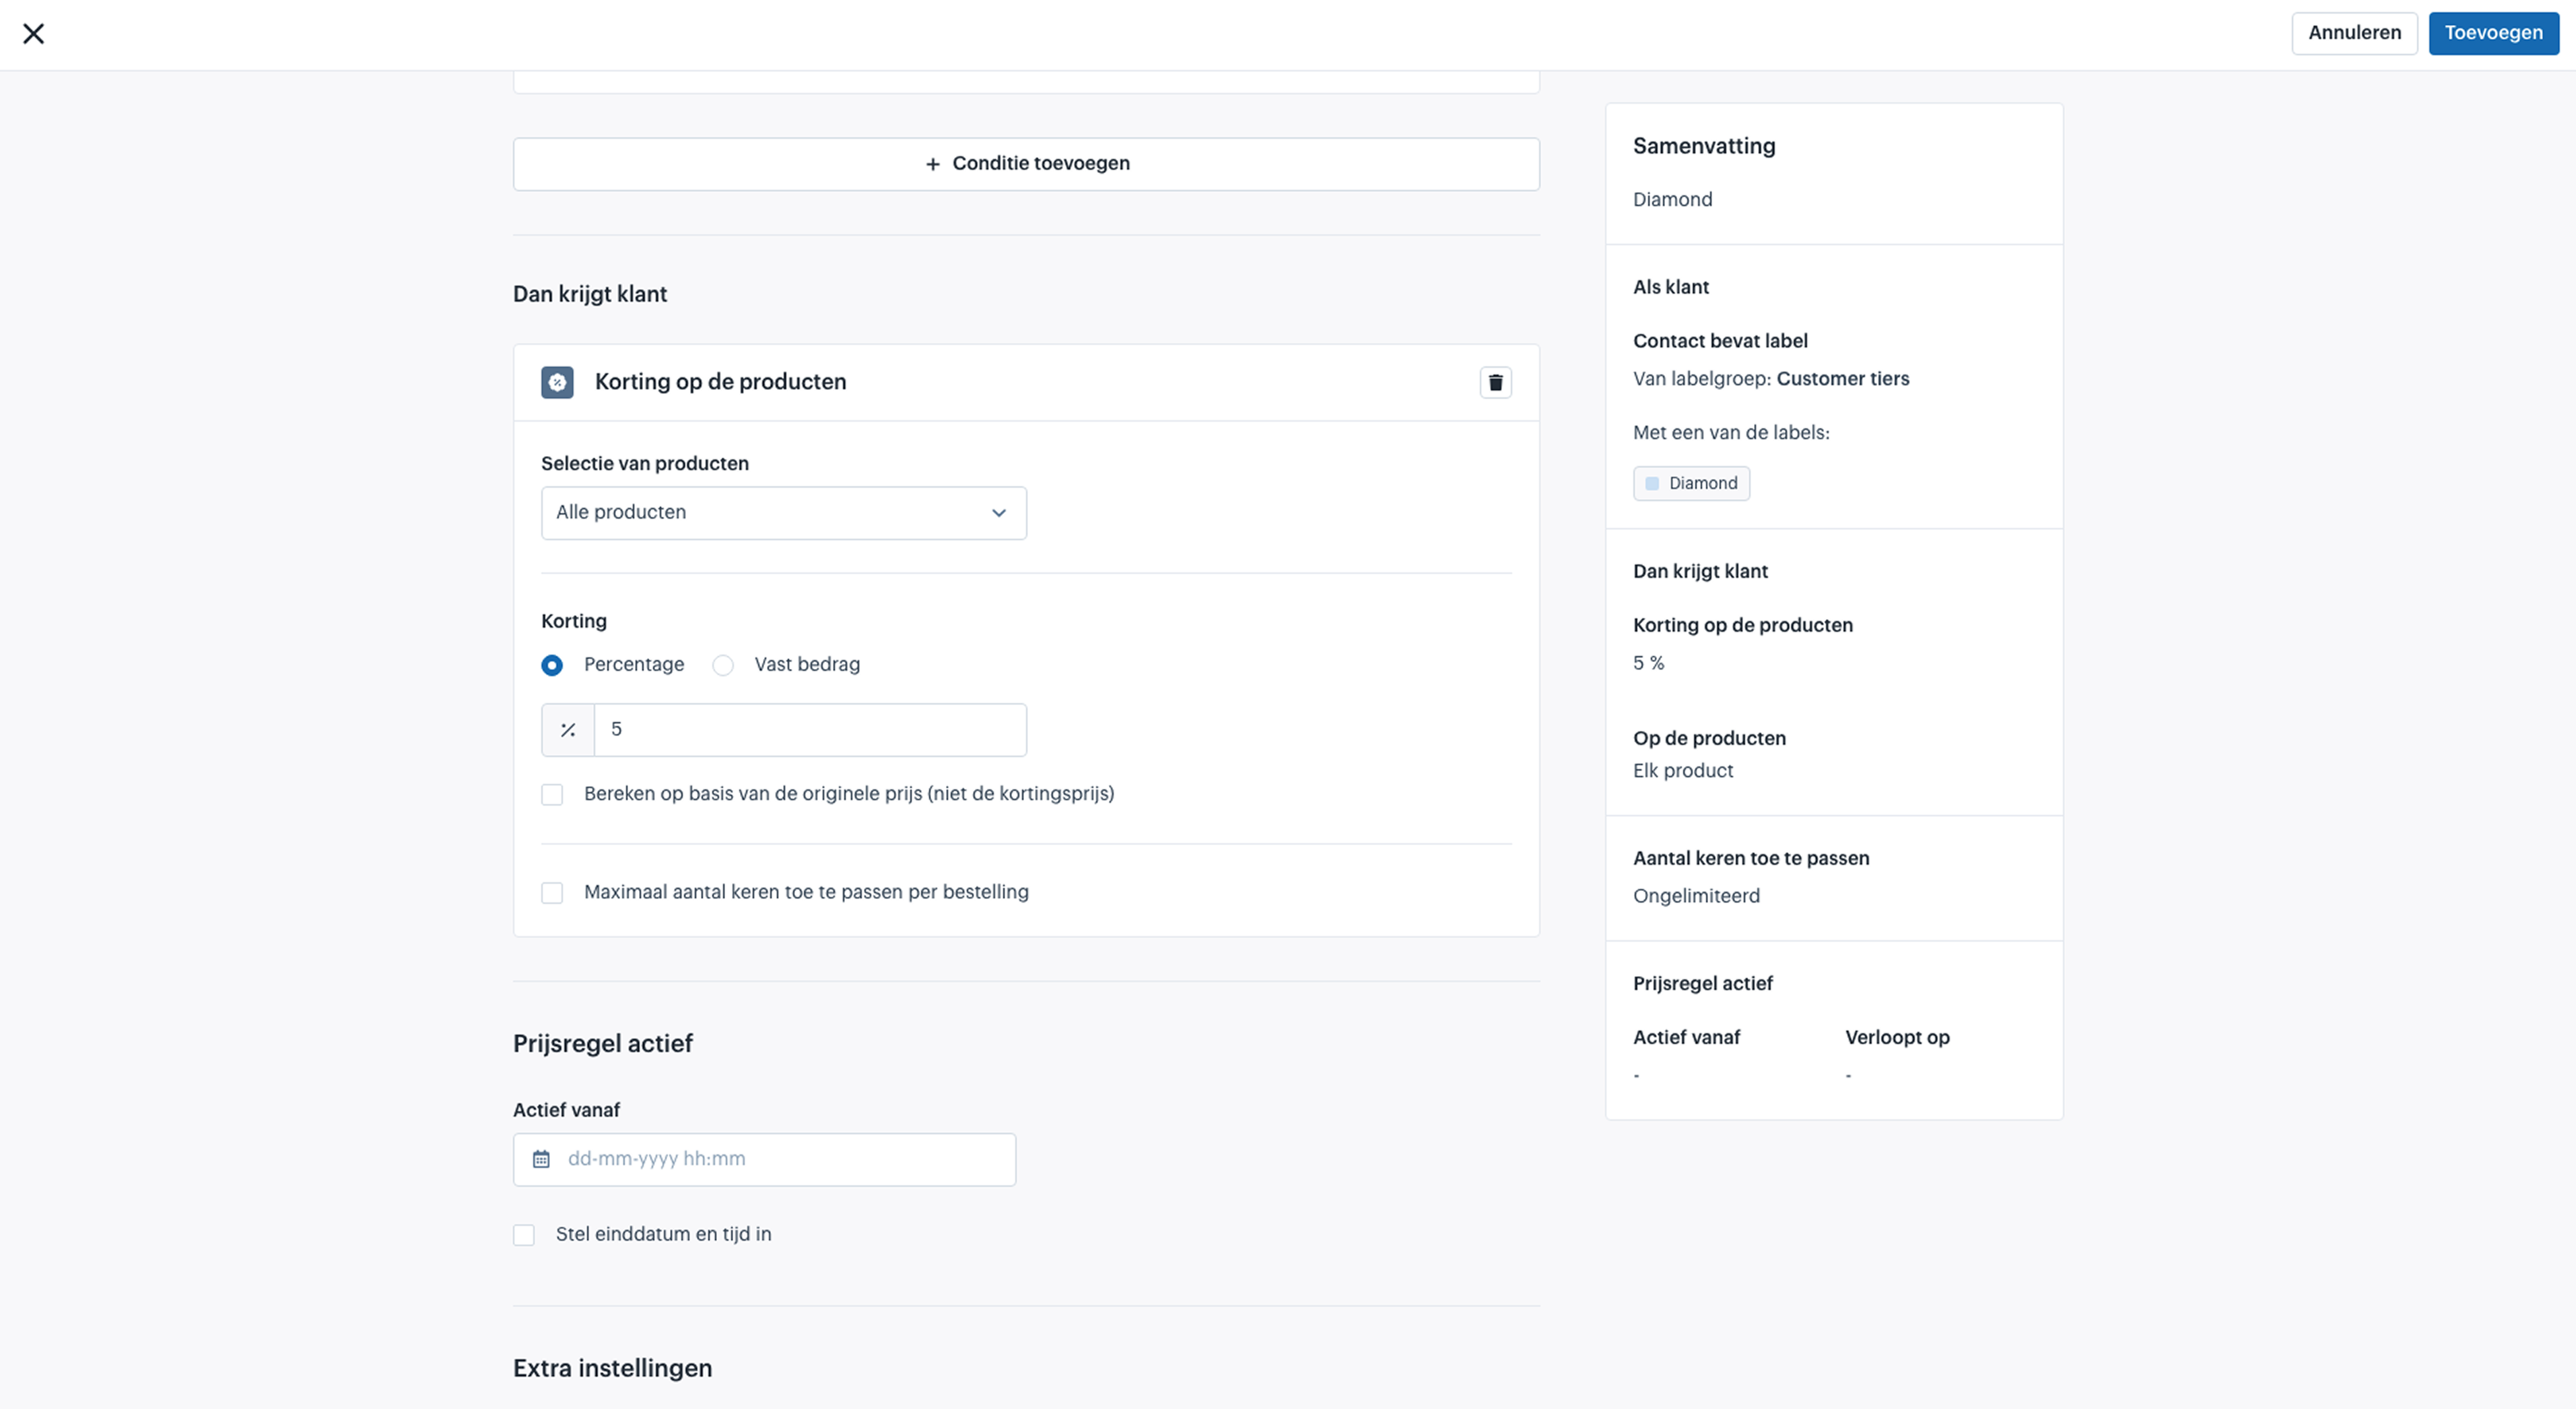
Then the Customer Gets: Discount on Products
If you do not want to apply a discount to the entire order, but only to a selection of products, you can use the condition: Discount on Products.
First, determine which set of products the discount should apply to. The available options are:
- All Products
- Products by Brand
- Products by Specification
- Specific Products
After defining the product selection, determine how much discount should be calculated on the products. Finally, you can optionally use the additional settings:
- Calculate based on the original price: By default, the discount is calculated based on the sale price, if available. Choose this option if the discount should always be calculated based on the original price.
- Maximum number of times applied per order: By default, the discount is applied repeatedly to all products within your selection. Choose this option if the discount may only be applied a maximum number of times per order.

Then the Customer Gets: Additional Conditions
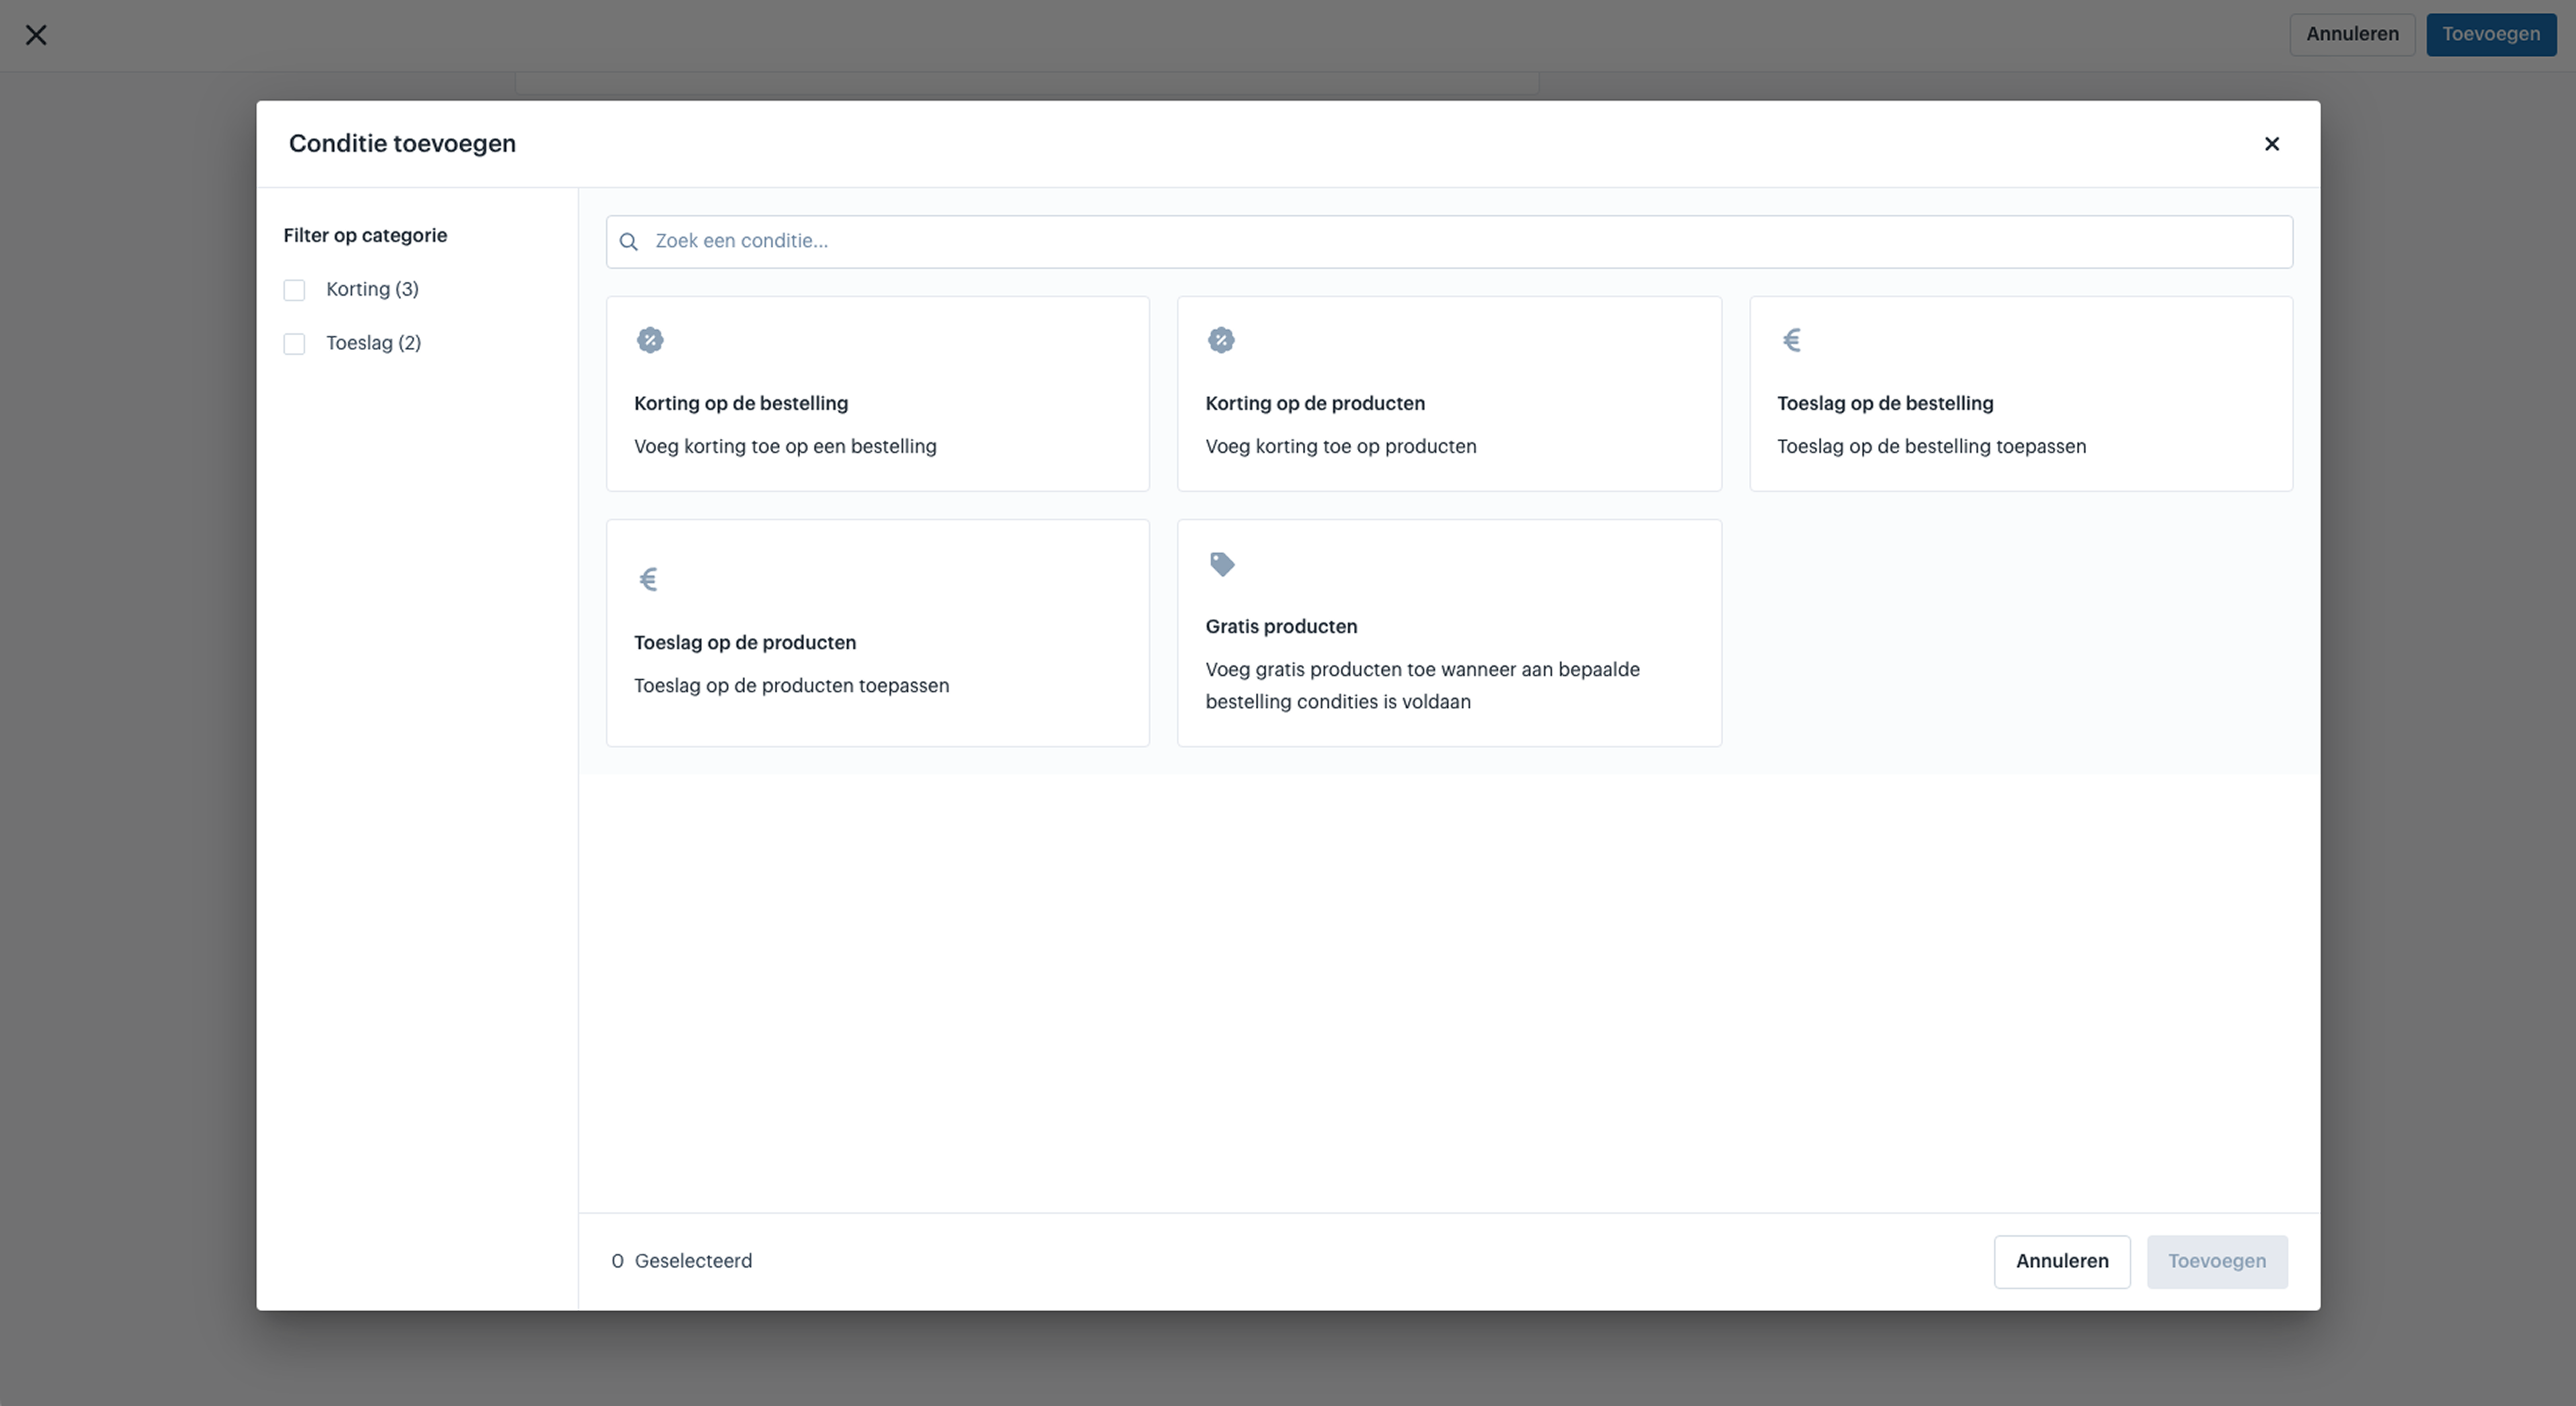
In addition to “Discount on Products” and “Discount on the Order,” you can also add other conditions, for example when you want to apply a surcharge instead of a discount, or when you want to give free products. The following conditions can be applied:
- Discount on the Order
- Discount on Products
- Surcharge on the Order
- Surcharge on Products
- Free Products

Steps
- In the Afosto admin environment, go to: Orders > Discounts.
- On the page, click Add.
- Choose how you want to create the price rule: Start with a template or Custom setup.
- In this case, choose: Start with a template.
- Select a suitable template.
- In this case, choose the template: Discount for Contacts with Label.
- Give the price rule a name.
- Add any translations for this name, if needed.
- Set the conditions the customer must meet under: If Customer.
- In this case, set the following condition: Contact contains label.
- Choose the applicable label group.
- Select the labels that the contact must contain or must not contain.
- Optionally, add additional conditions.
- Then set the discount condition under: Then the Customer Gets.
- Keep the condition “Discount on the Order” or remove it and choose another condition.
- Determine how much discount you want to give: a percentage or a fixed amount.
- Specify when the price rule should become active and, if applicable, when it should expire. Leave empty if the price rule should be active immediately.
- Configure any additional settings, if applicable.
- Save the price rule.
- Adding a Price Rule
- Start with a Template or Custom Setup
- Price Rule: “Discount for Contacts with Label”
- If Customer: Contact Contains Label
- If Customer: Additional Conditions
- Then the Customer Gets: Discount on the Order
- Then the Customer Gets: Discount on Products
- Then the Customer Gets: Additional Conditions
- Steps