

Apps 4.0 - Spooler - Add Printer
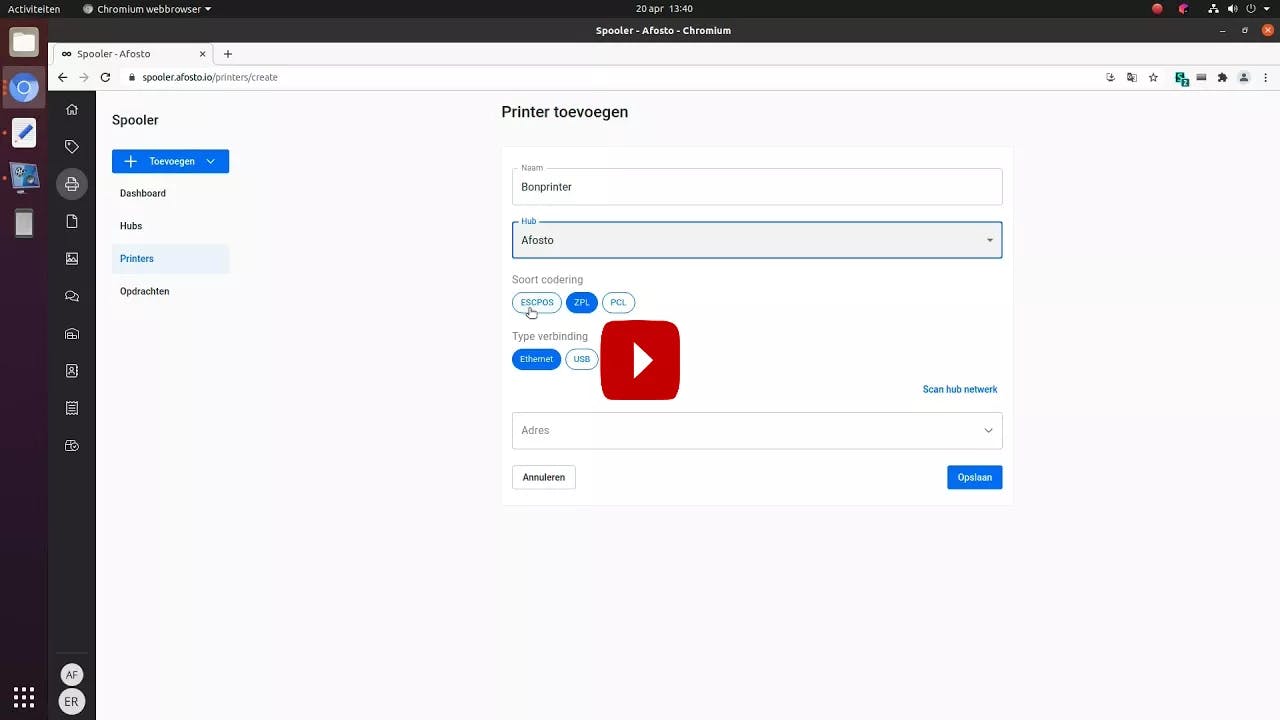
Transcript of the above video
-
Connect the printer to the local network
-
Connect the Spooler hub to the local network with a network cable
-
From the dashboard, go to Spooler
-
It may take several minutes for the hub to display “Online” status
-
Go to “Printers” when the hub is online
-
Click on “Add Printer”
-
Give the printer a descriptive name
-
Choose the appropriate encoding
-
ESCPOS: receipt printers
-
ZPL: label printers
-
PCL: A4 printers
- Connection type.
-
Ethernet: Recommended for all devices
-
Usb: Works on a number of usb receipt printers
- Scan hub network
-
The hub now scans the network for all available devices
-
Scroll through the list and choose the printer that will be listed now Add spooler-printer-2.png]
-
Click on “Save”
-
Click on the line of the printer you just added
-
Go to the three dots at the top right and click “Test Connection”. If the connection was successful, a test print will now come out of the printer